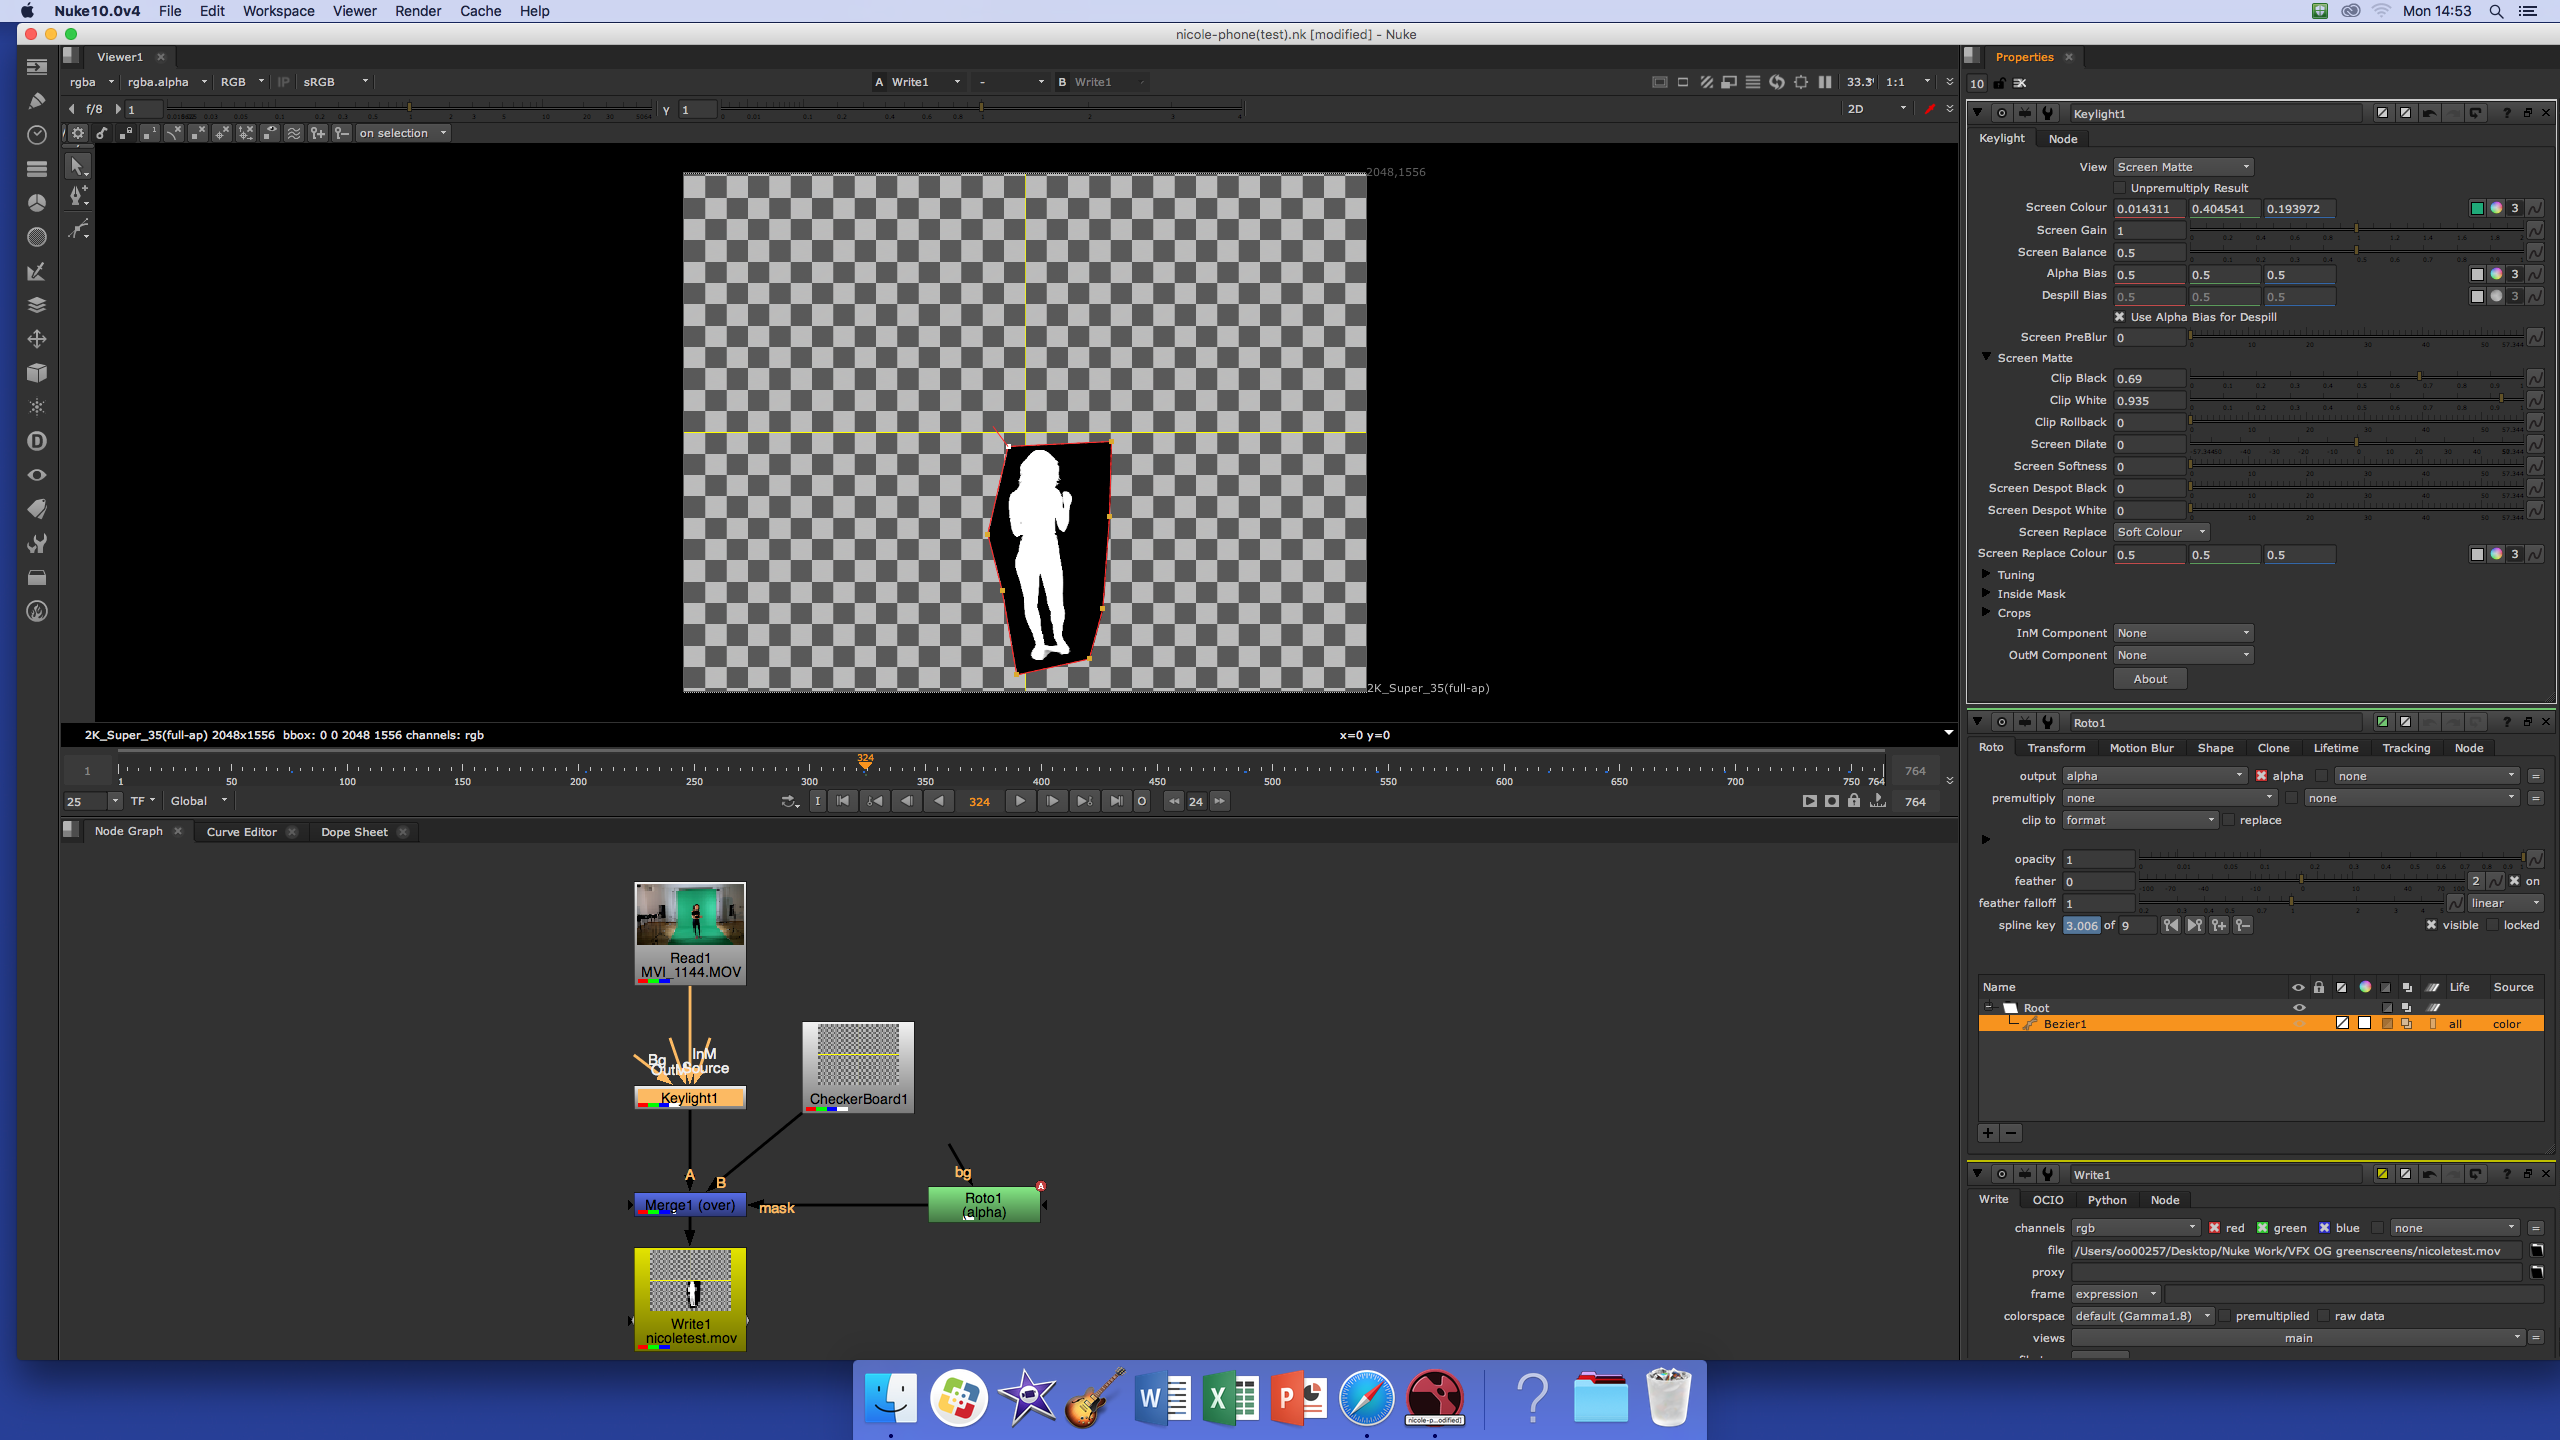
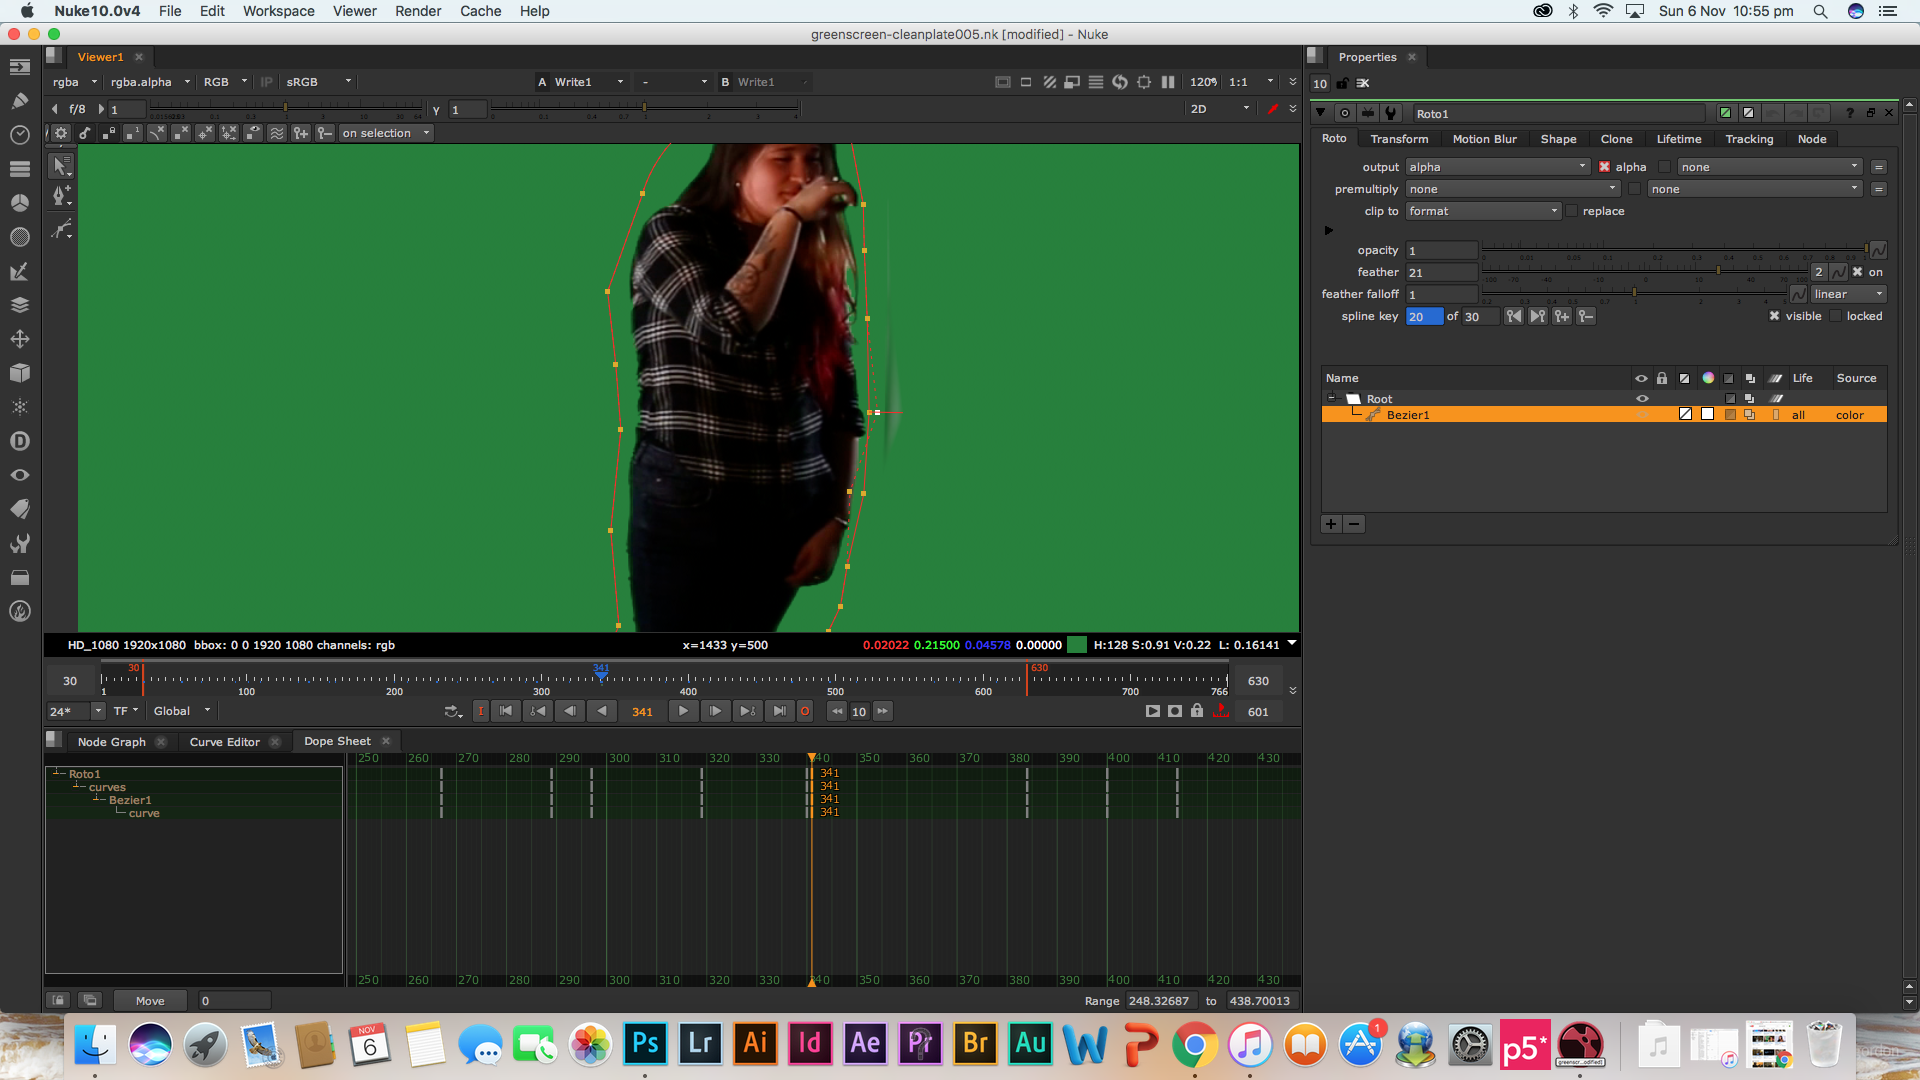
I used the above tutorials to learn how to roto out my subject from the background and to add a constant background. These tutorials were very helpful.
Rotoscoped image
After I selected the subject from the background I used the Keylight node and adjusted the Clip Black and Clip White settings so that there would be no grey in either the black or the white areas of the subject. This enabled me to remove the subject from the background cleanly.
Keyed image
I changed the background to the checkerboard just to see how the subject looks without the background. I am pleased with how this test came out. This technique is very effective and I intend to use it again for Project 1.
I have to remember to change the checkerboard or the constant background to be HD 1920×1080 or else if I try to change it after I have exported the file it will distort the image.
Cleanplate final result for Project 1
By sampling the green screen (using the key light node) and removing any grey in the rotoscoped selection (clipping the white and the blacks), I was able to get a clean selection without losing quality. This technique helped the subject blend in with the constant background better. To ensure the subject blended in well I also feathered all the points of the tight matte. I followed the same process with all my clean plates and made sure that the constant colour was the same shade of green for all clean plates.
Overall I am very happy with how the final clean plates came out, by combining rotoscoping and keying together I was able to successfully remove the green screen background. Although ideal I would have liked to not have a lot of shadow around my subjects feet, I couldn’t get rid of it that easily. If I had removed the shadows by clipping the whites and blacks I would have lost quality around the subjects body.


