

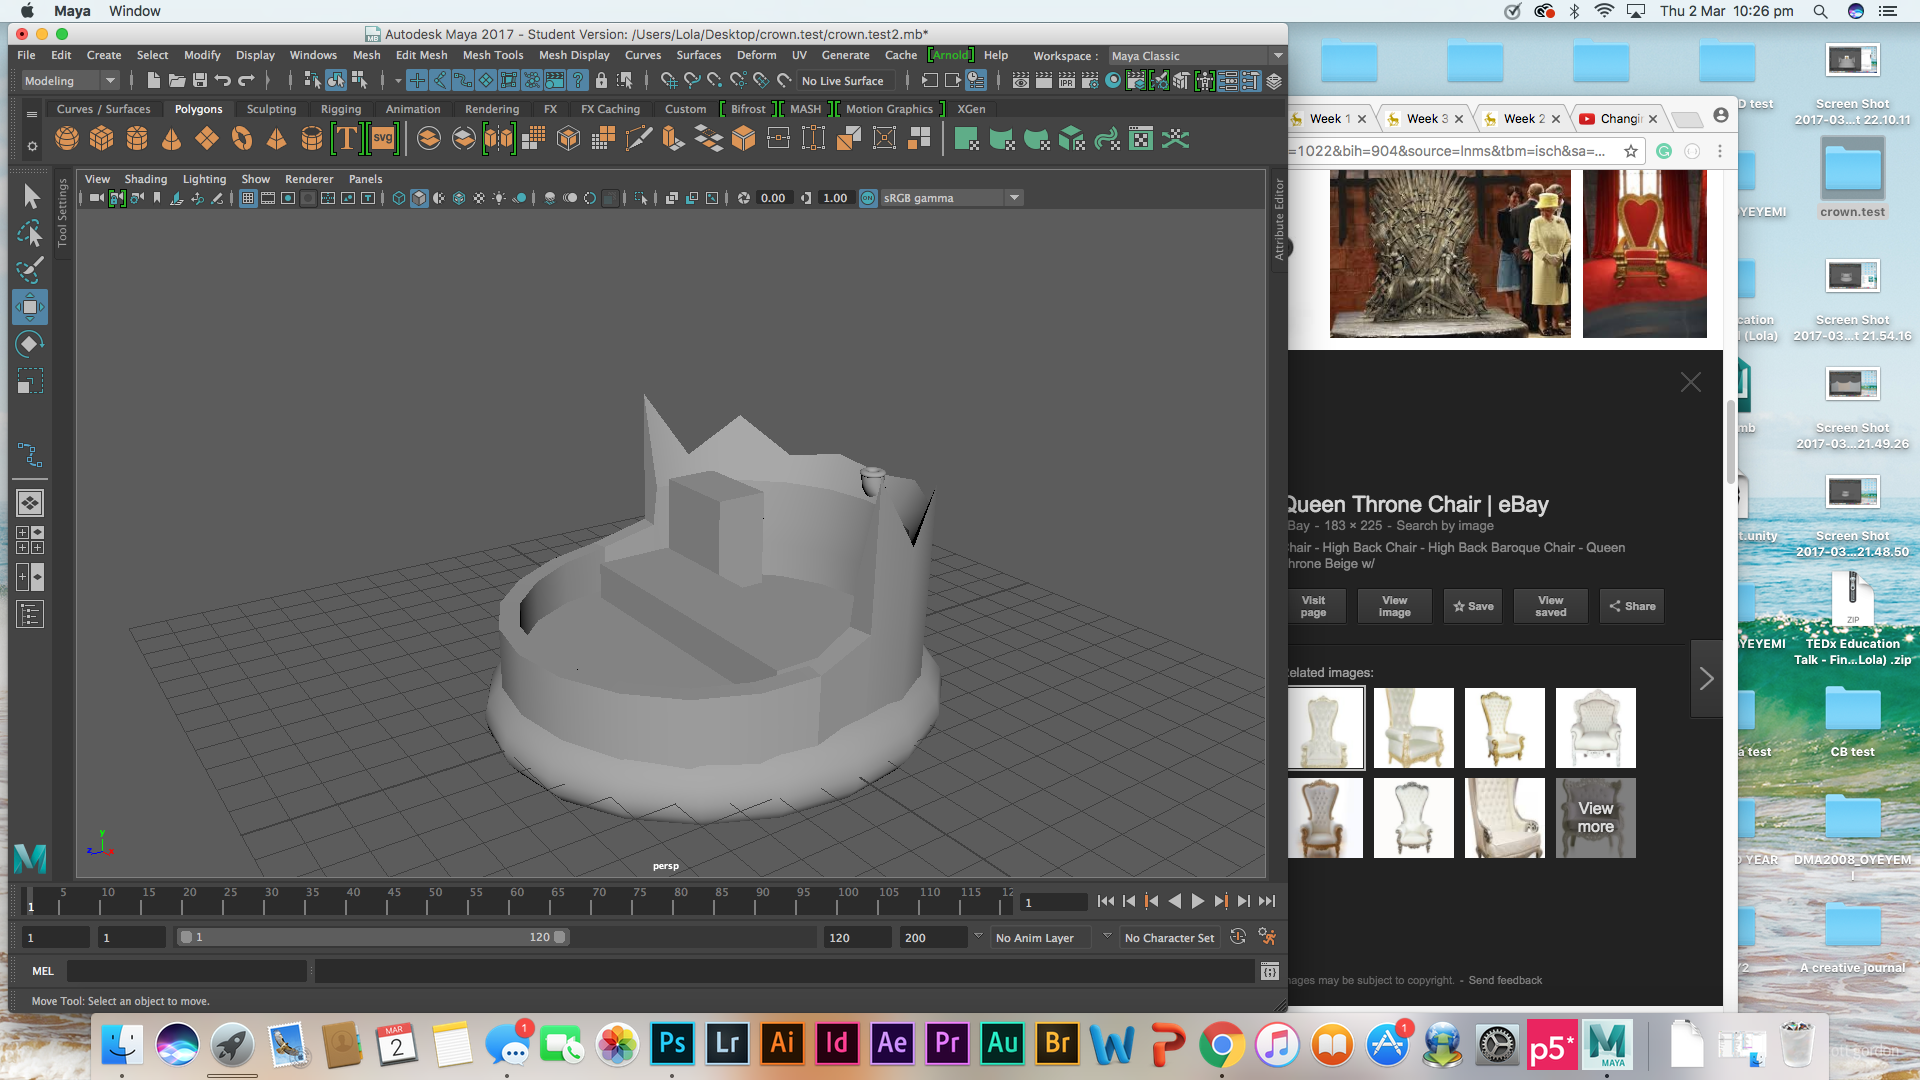
The base of the cart was made from a cylinder and a torus. I removed certain faces of the cylinder to create the opening of the cart. Then the vertex at the back of the cart was brought up to help make it resemble the top of a crown. This was then extruded to give the cart more shape.
Initially, I wanted the passengers to sit on individual thrones but then I realised, that would be unrealistic because it would not be safe. Therefore the passengers will side on one long seat, designed as a throne. At the time my main focus was to get the base design of the cart done then I could focus on the more interested details such as making the chair.

To fill the whole behind the seats, scaled the size of a cube then bent it so that it would go around the curves if the cart. Since the seats on my cart are one long seat, the best seat guard would be one that went across both the passengers. Similar to the image above. Theses types of cart guards have seen in my mood boards during my research, I replicated that so that the cart will look as authentic as possible.
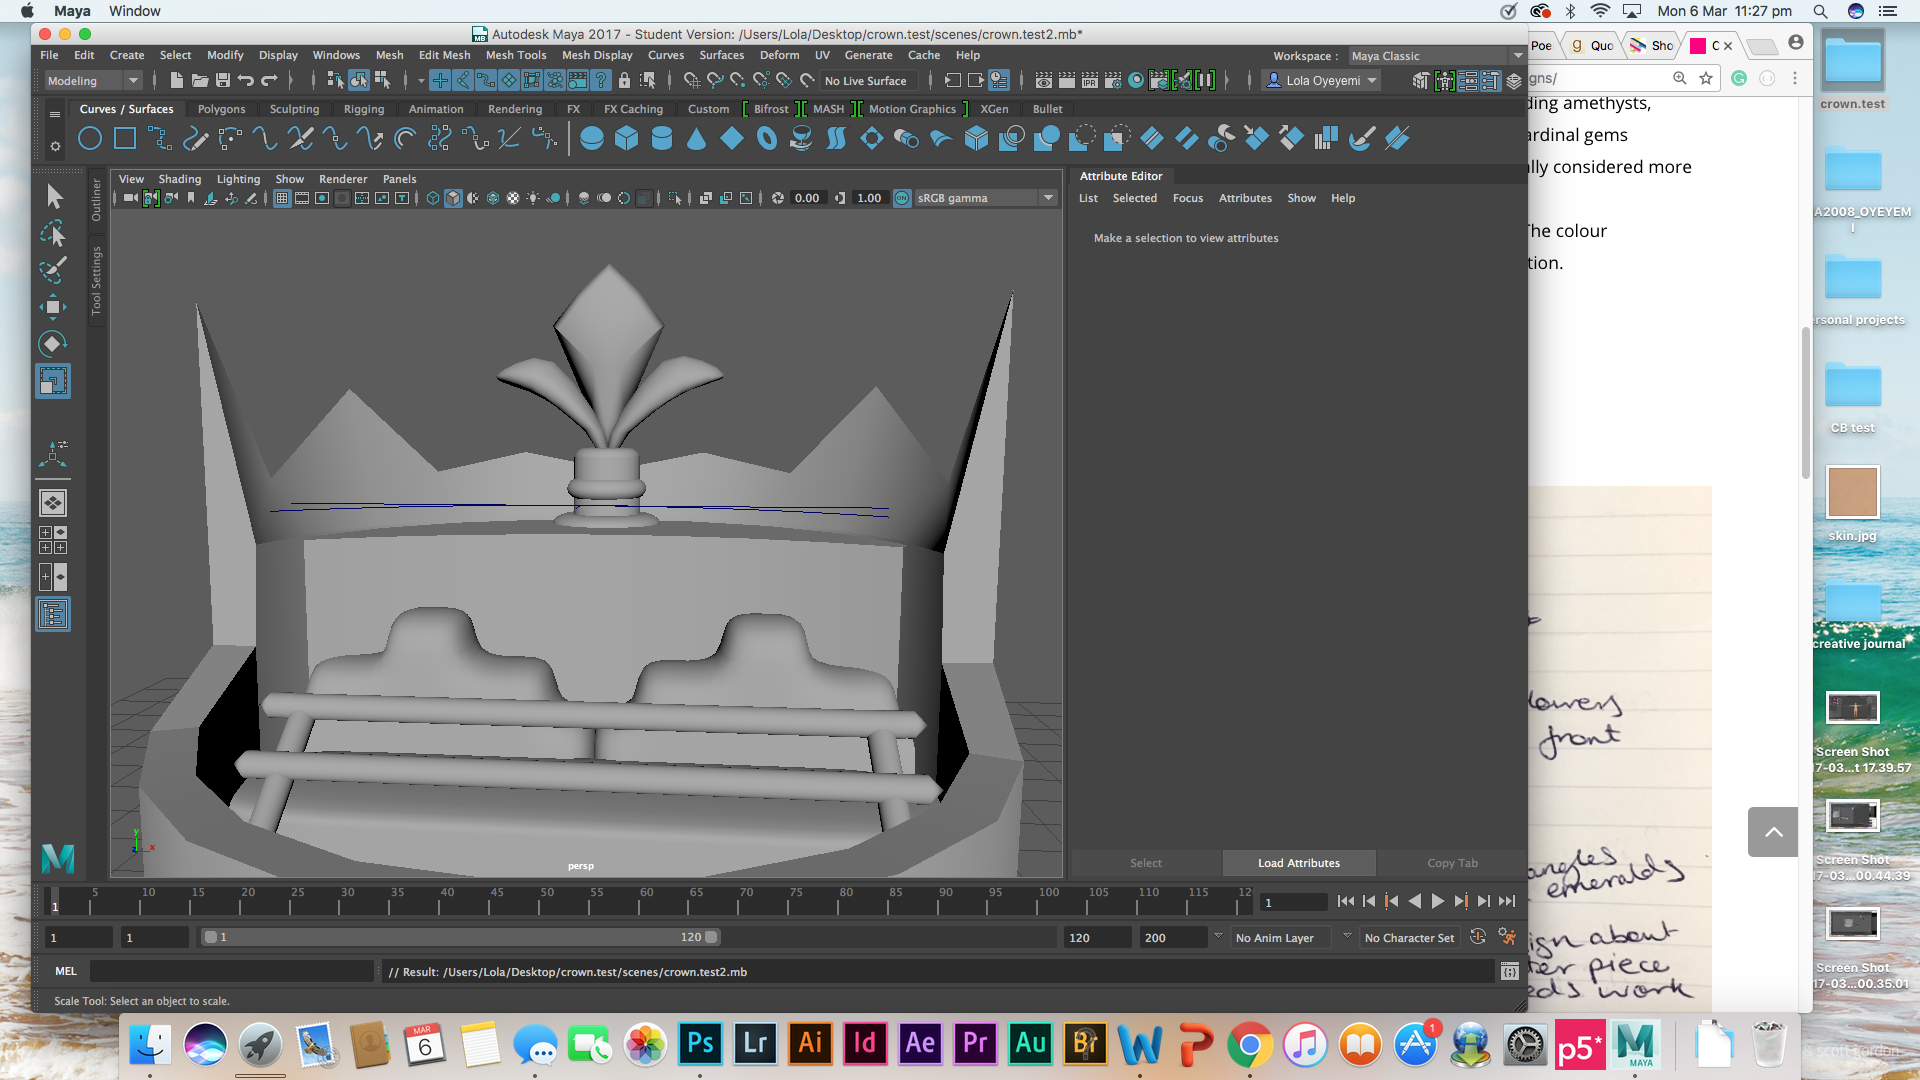


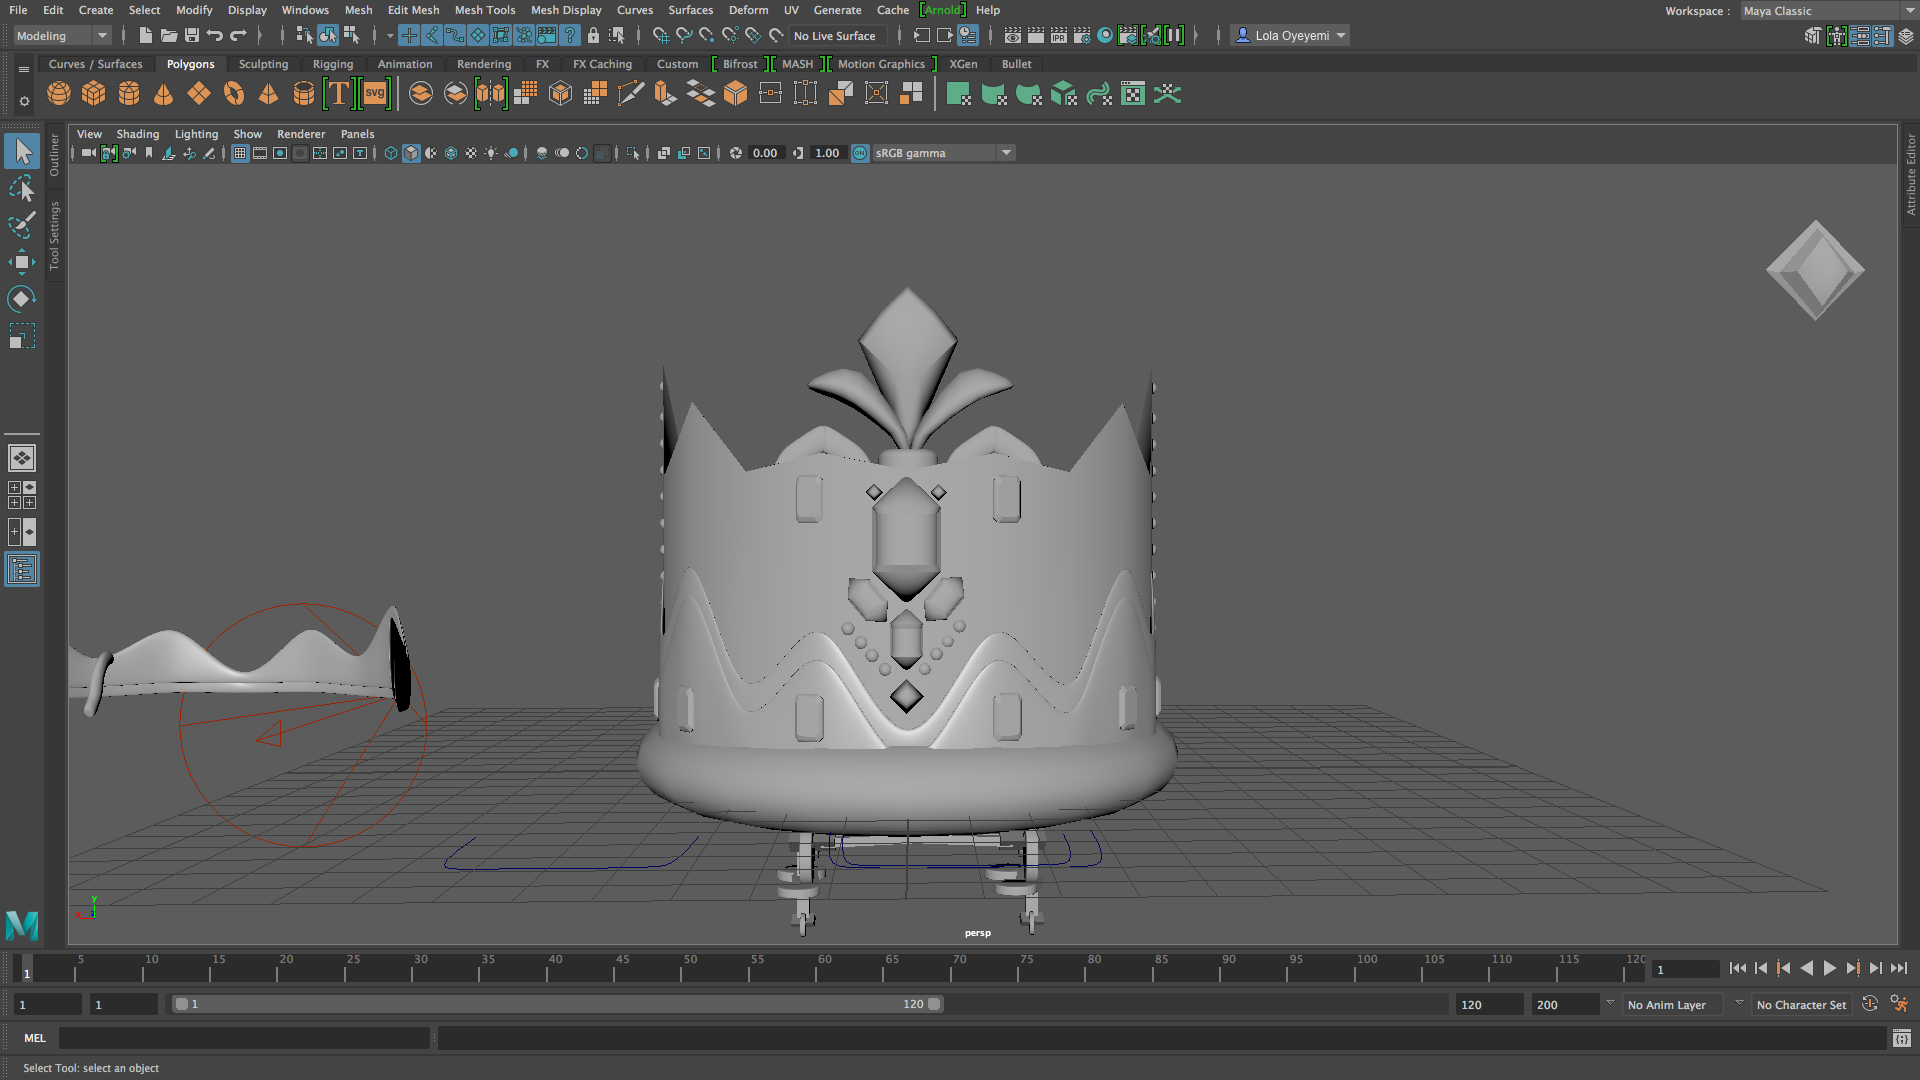
To create the Fleur de Lys, I initially tried to copy it using the curve tool, but that didn’t work. I used a cube that was scaled down to that of a rectangle then turned at an angle so that it would look like a diamond, the edge were smoothed out. For the side leaves, I did the exact same but curved the vertexes then smoothed out the polygon. This gave me a clean model that resembles the Fleur de Lys.
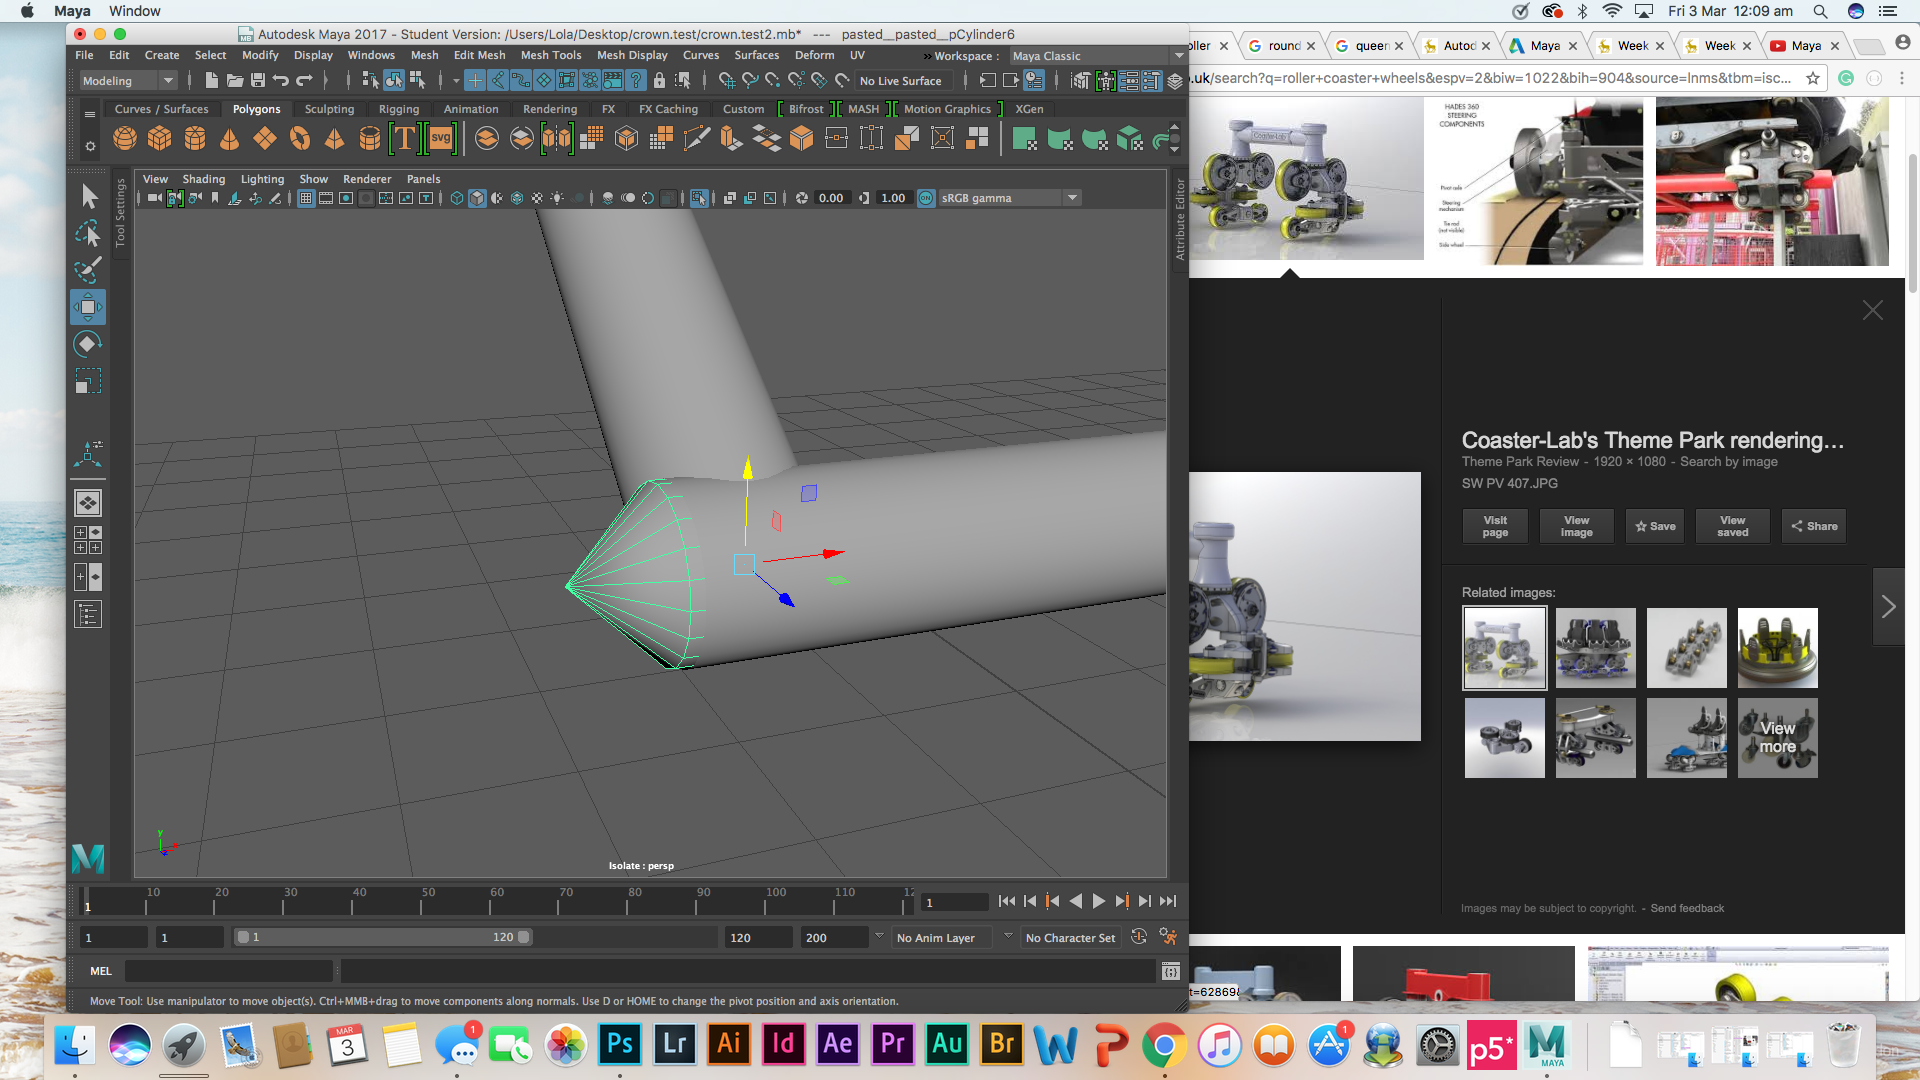
To make the wheels for the carts, I wanted to do something simple yet detailed so that when the overall design is being looked at, it would look realistic from afar and up close. I copied this image off google of a roller coaster cart wheel and simply replicated it with NURB cylinders, cubes and a revolve shape I made from using the CV curve tool. This shape is the tyres on the cart wheels.
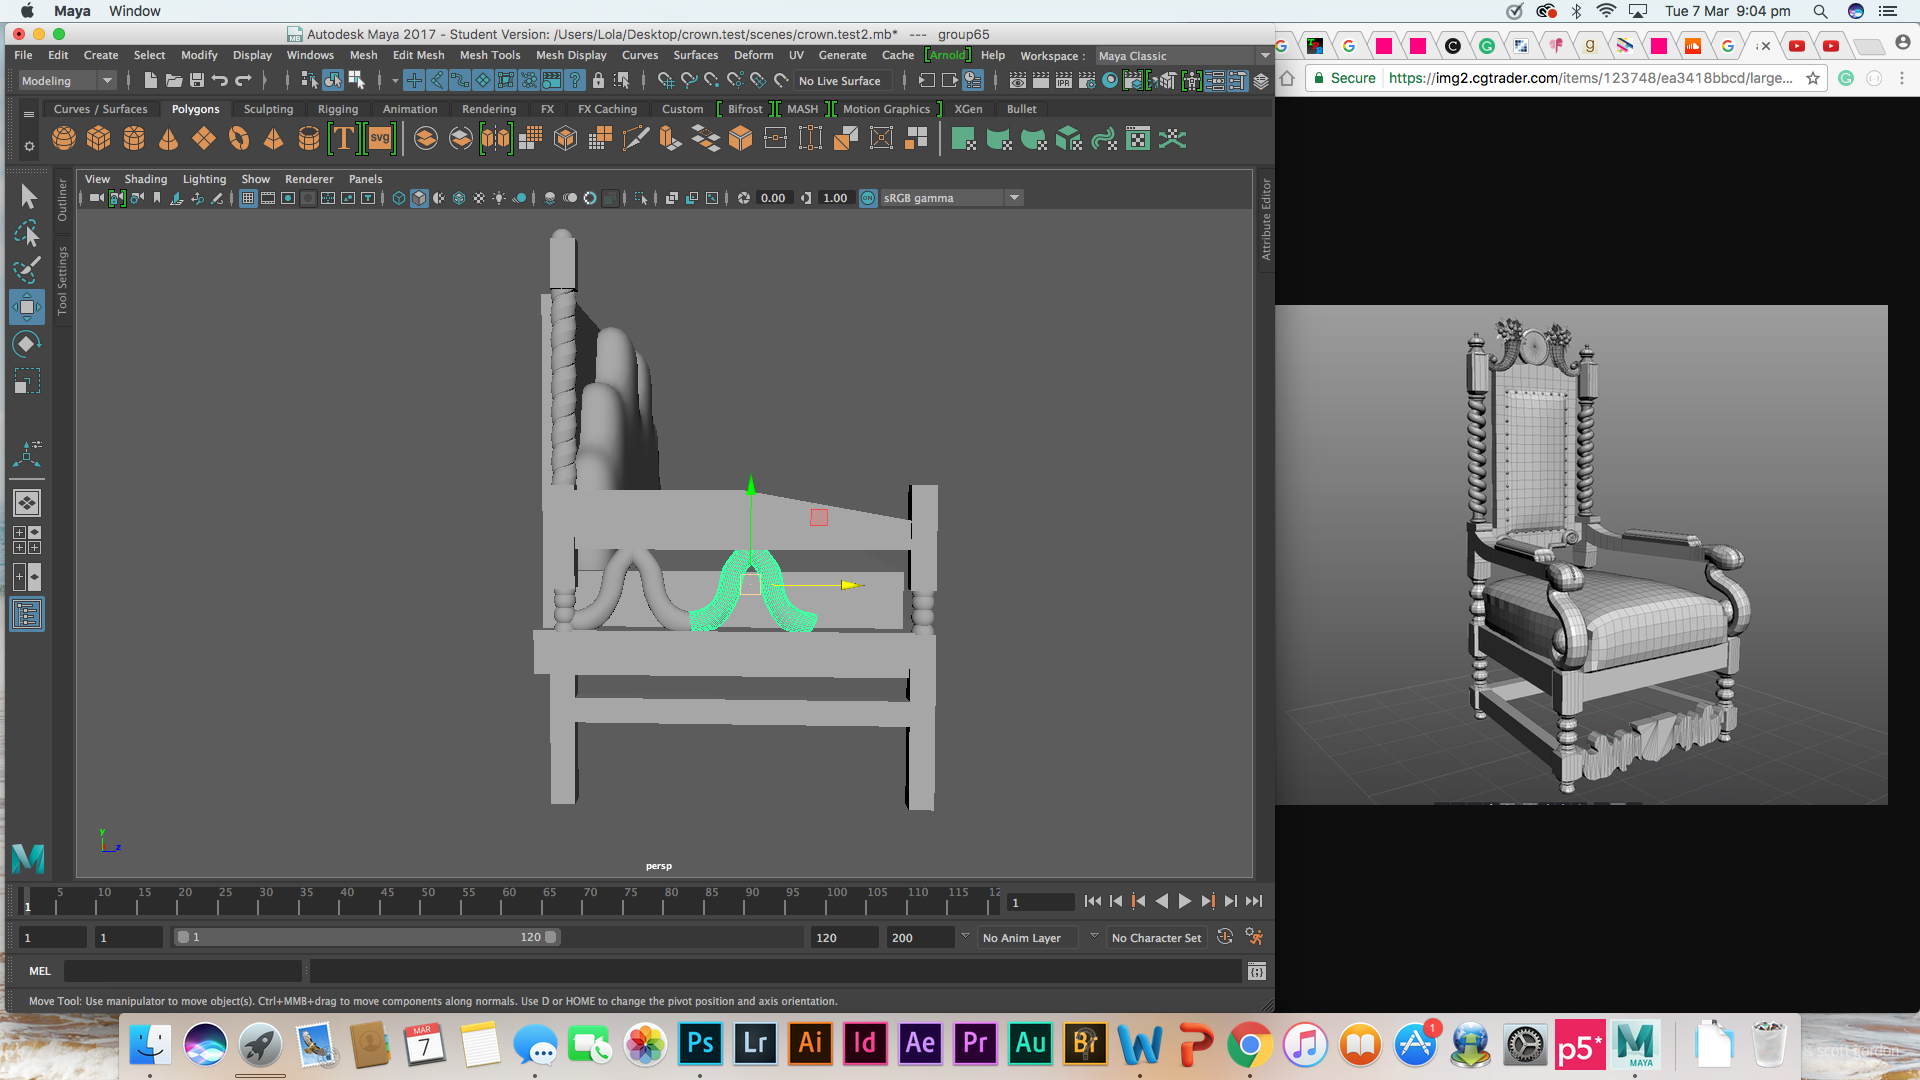

To expand on the design of the chair, I looked at designs of thrones and what elements made then recognisable. Such as the headboard, the rectangular cushion, textured chair posts. These were all things I needed to incorporate into my design. The image of the throne was what I was used for reference.
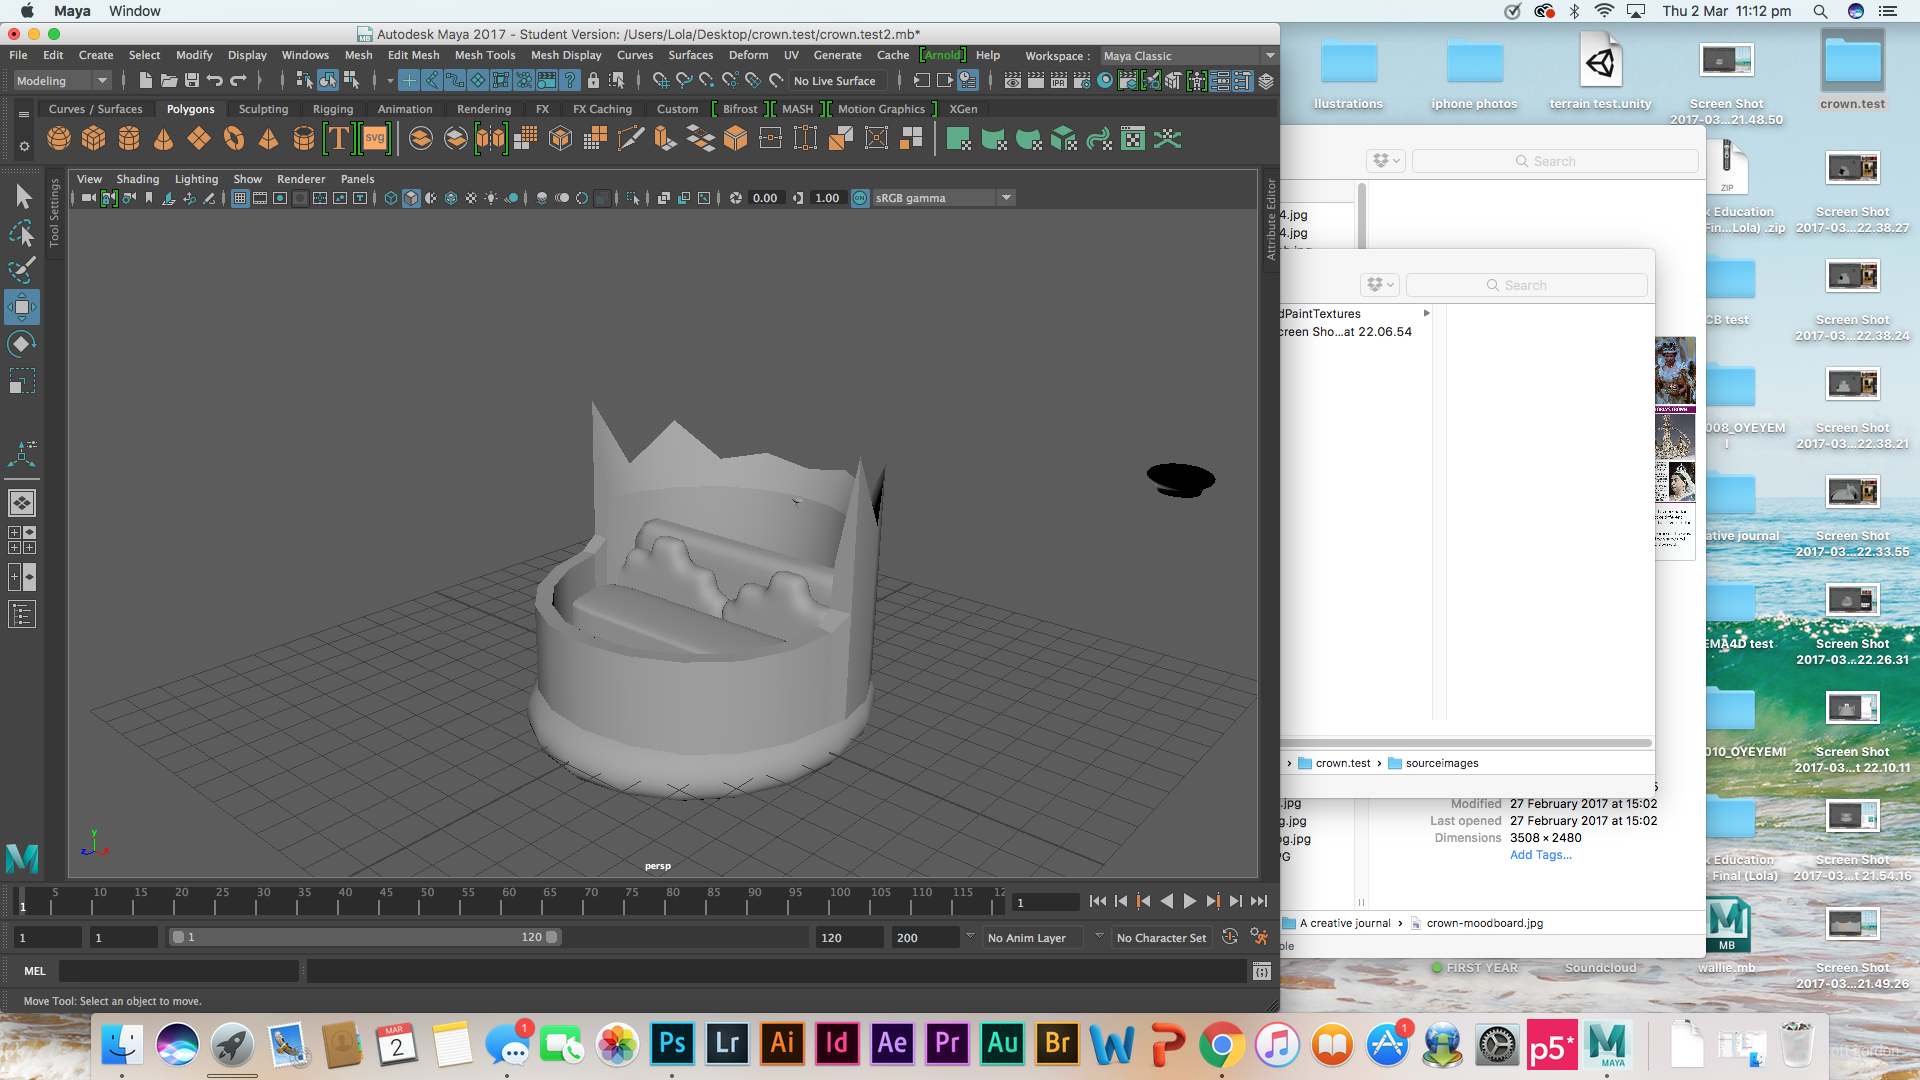
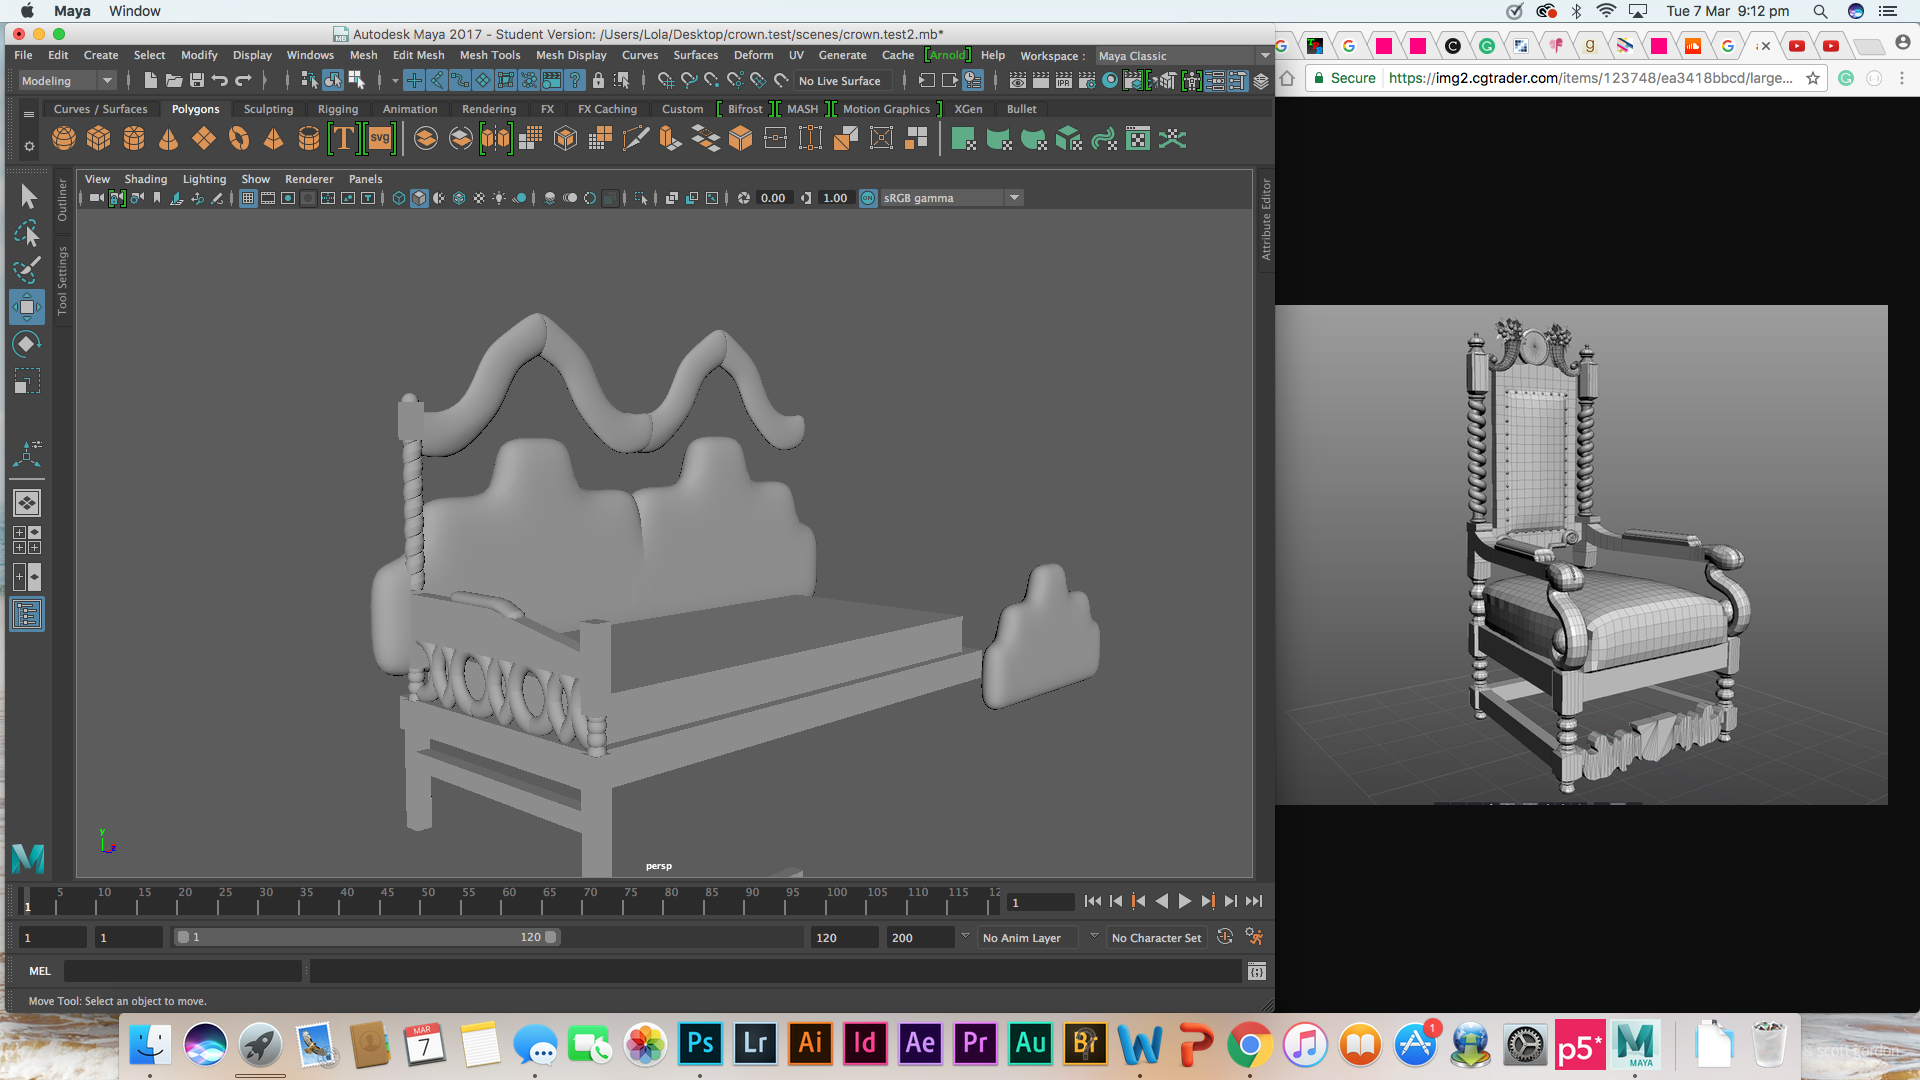
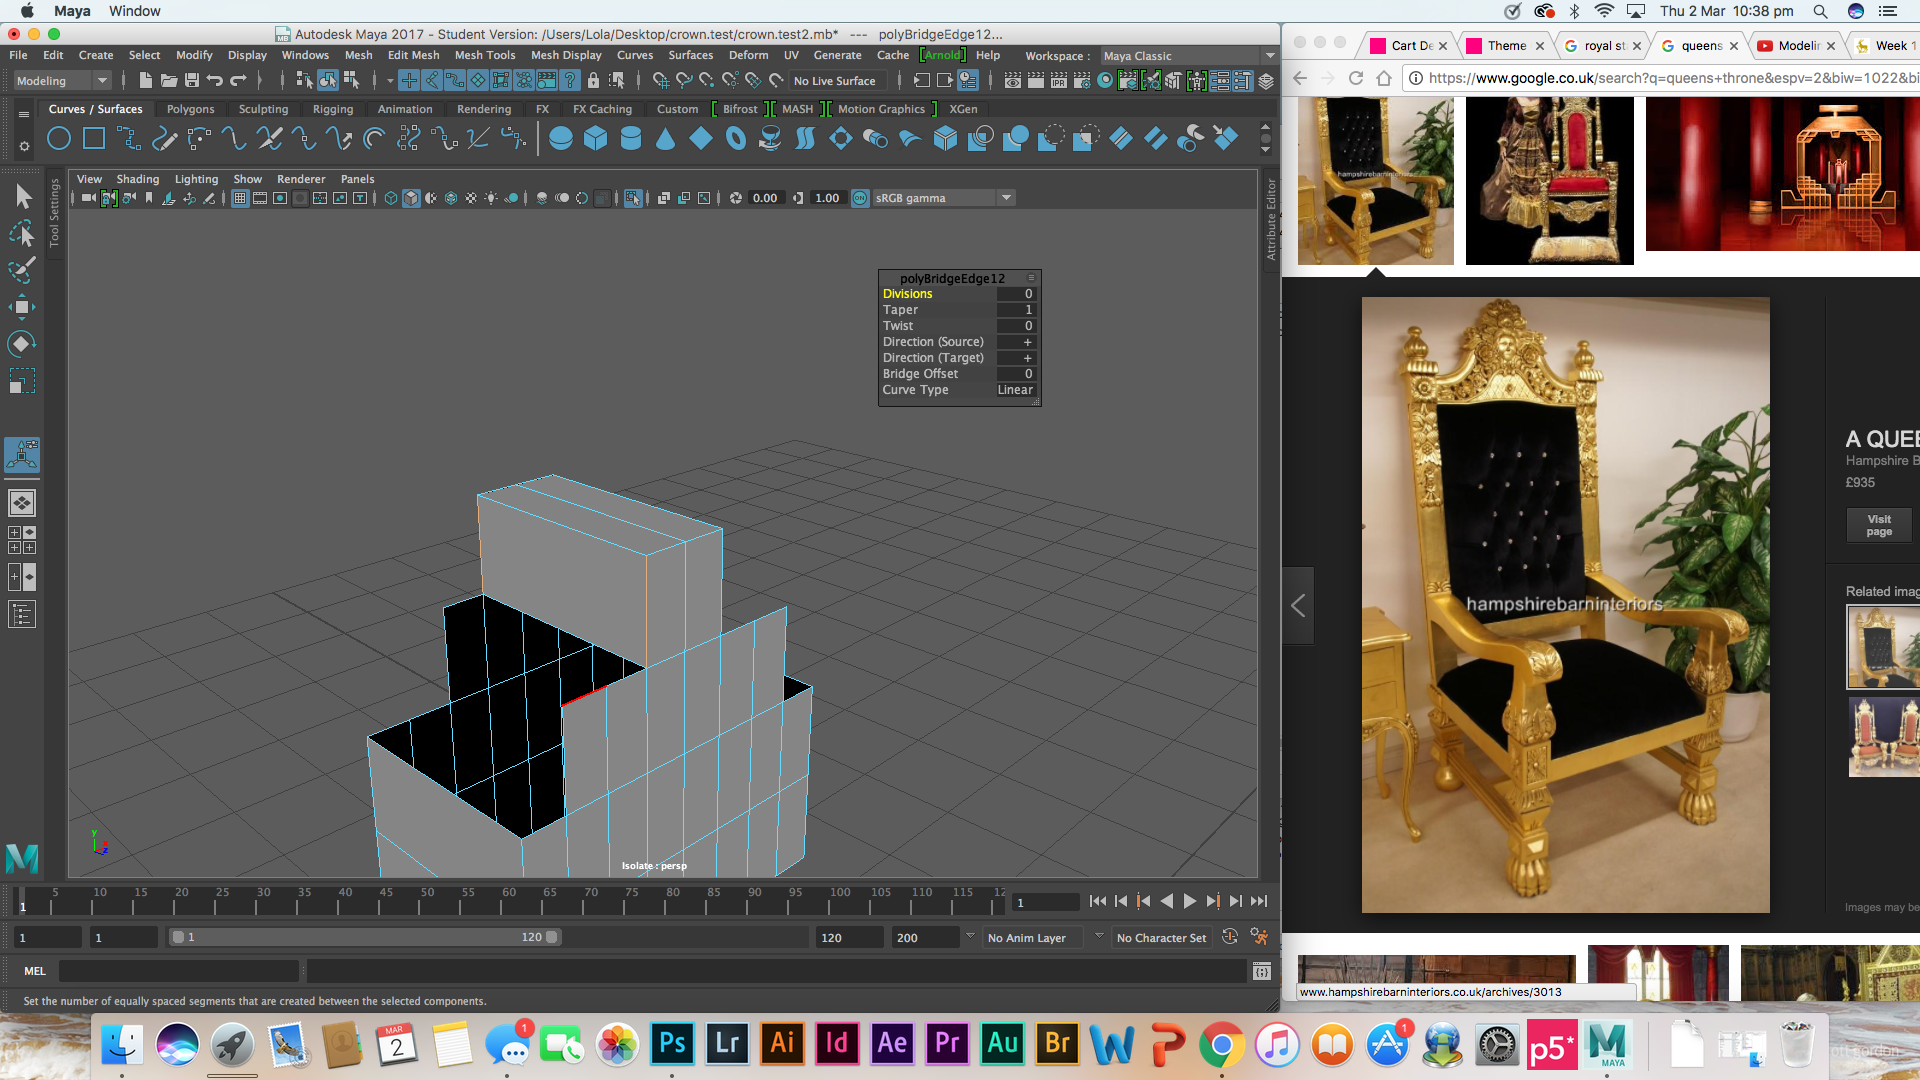
To create the cushions for the headboard, I used a cube and created multiple divisions then removed certain faces so that I could bridge the edges together in order to get my desired shape. As seen in the image above. One that was done I then smoothed it out. This was an innovative way to make the cushion I specifically wanted.
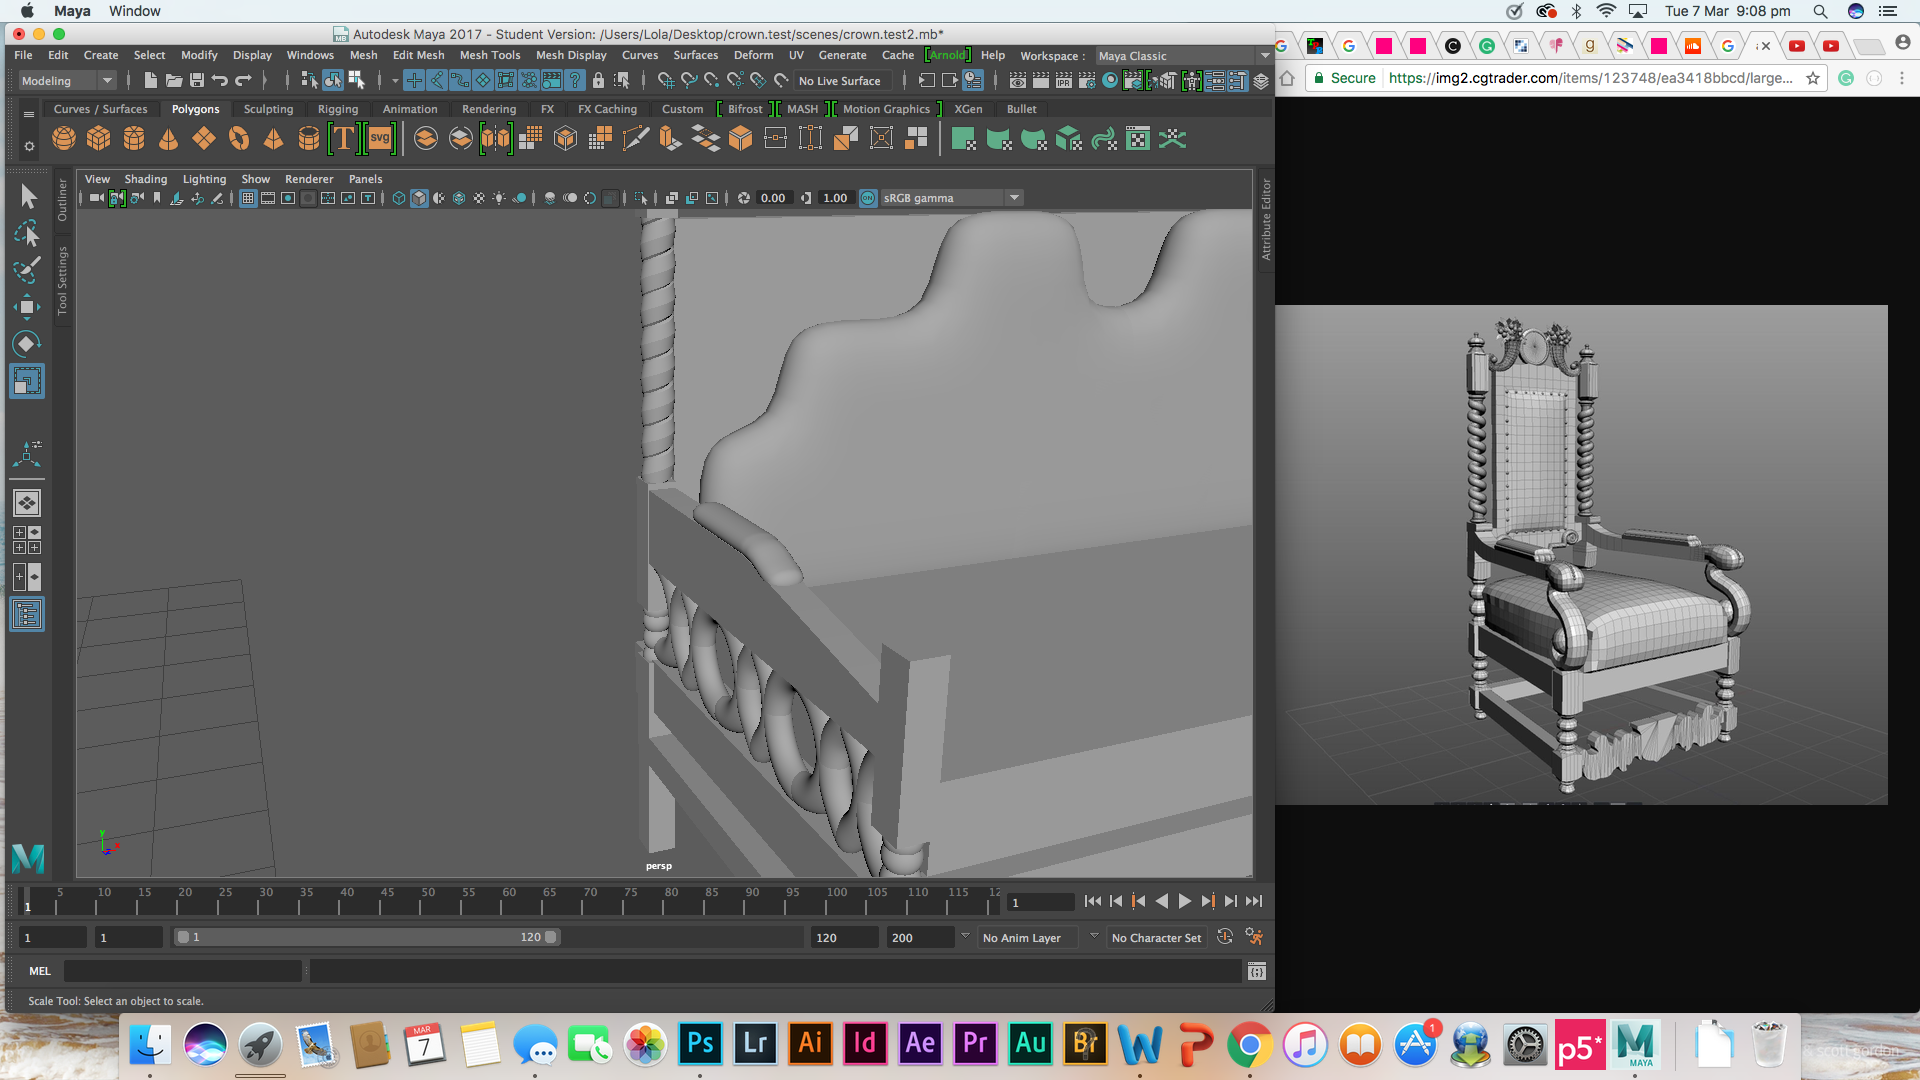
The basic design of the throne was done but I wanted to add more detail to it. I created a curved cylinder shape by moving the vertex and smoothing the object, then duplicated it all around the sides of the throne. This gave the throne an old look with was what I wanted. Since the cart design will include both old and new features of crowns and royalty, this chair is an example of the fusion.
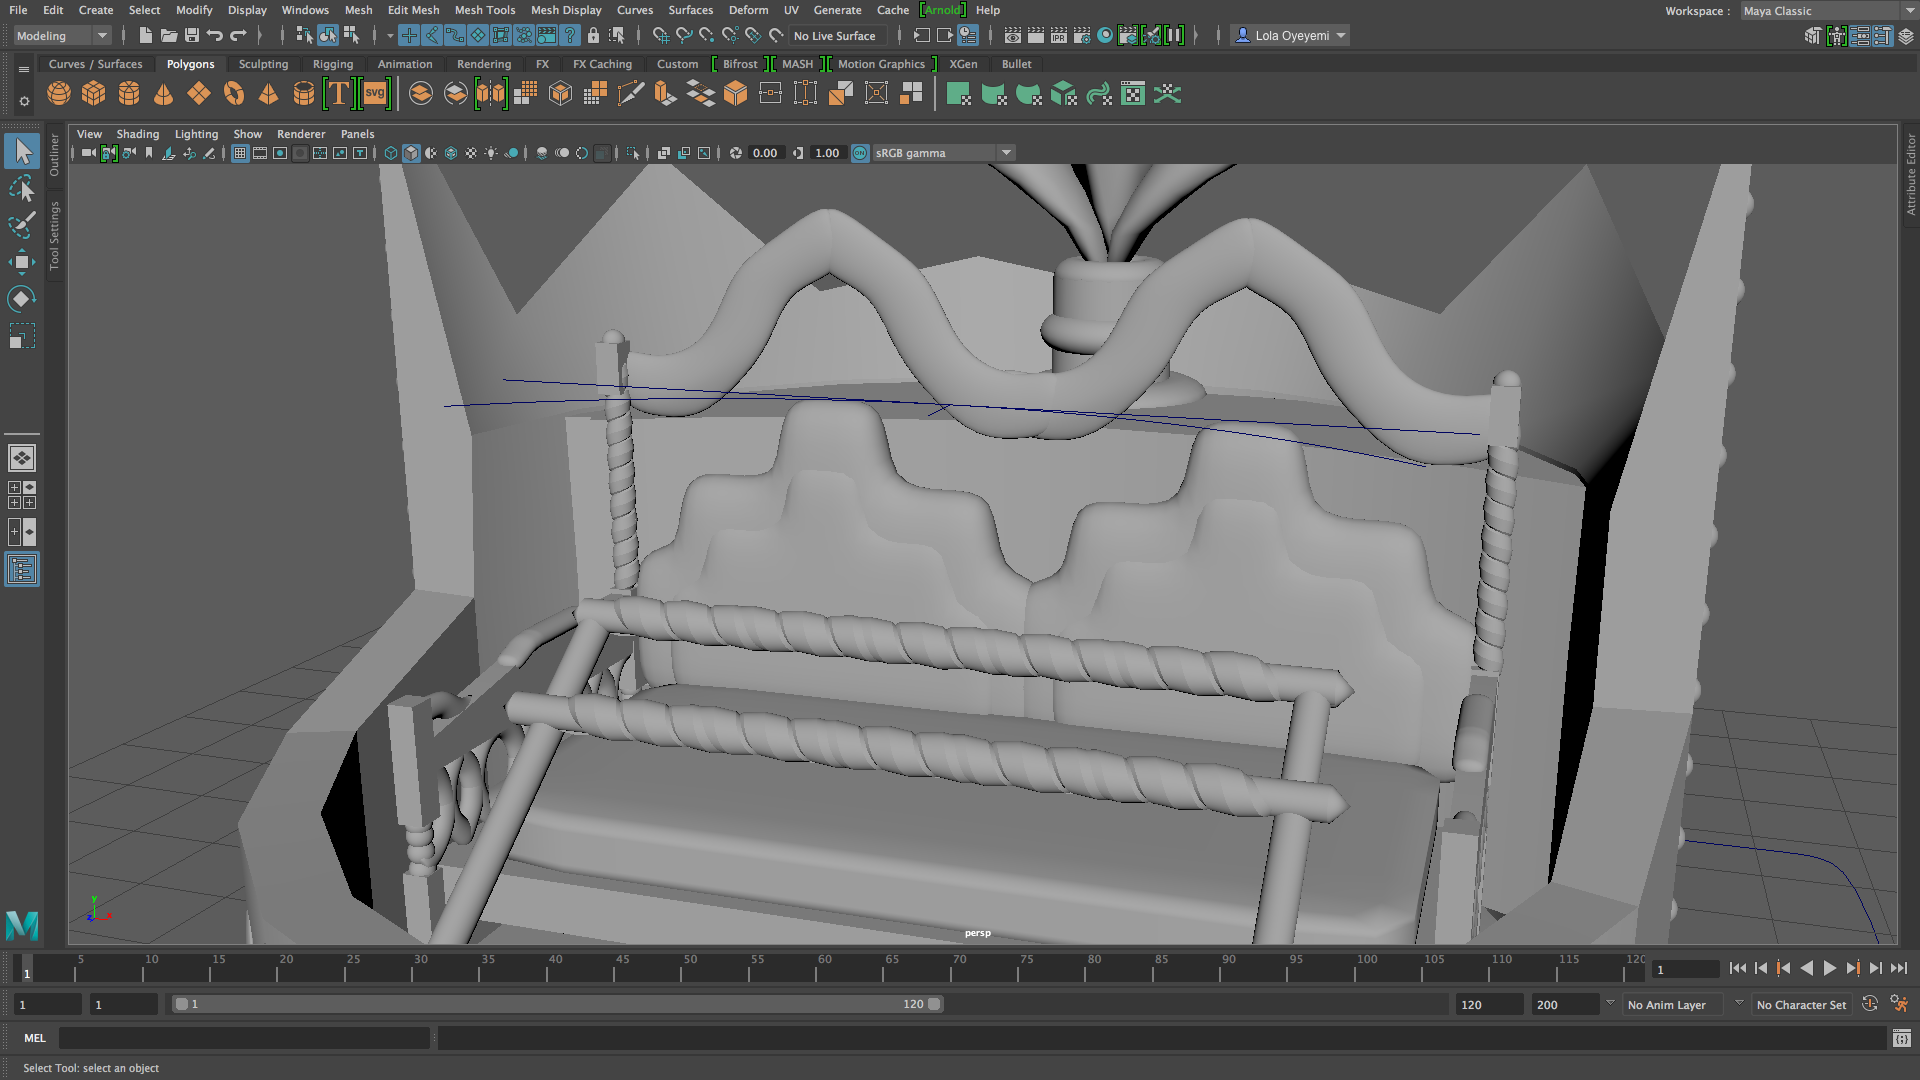

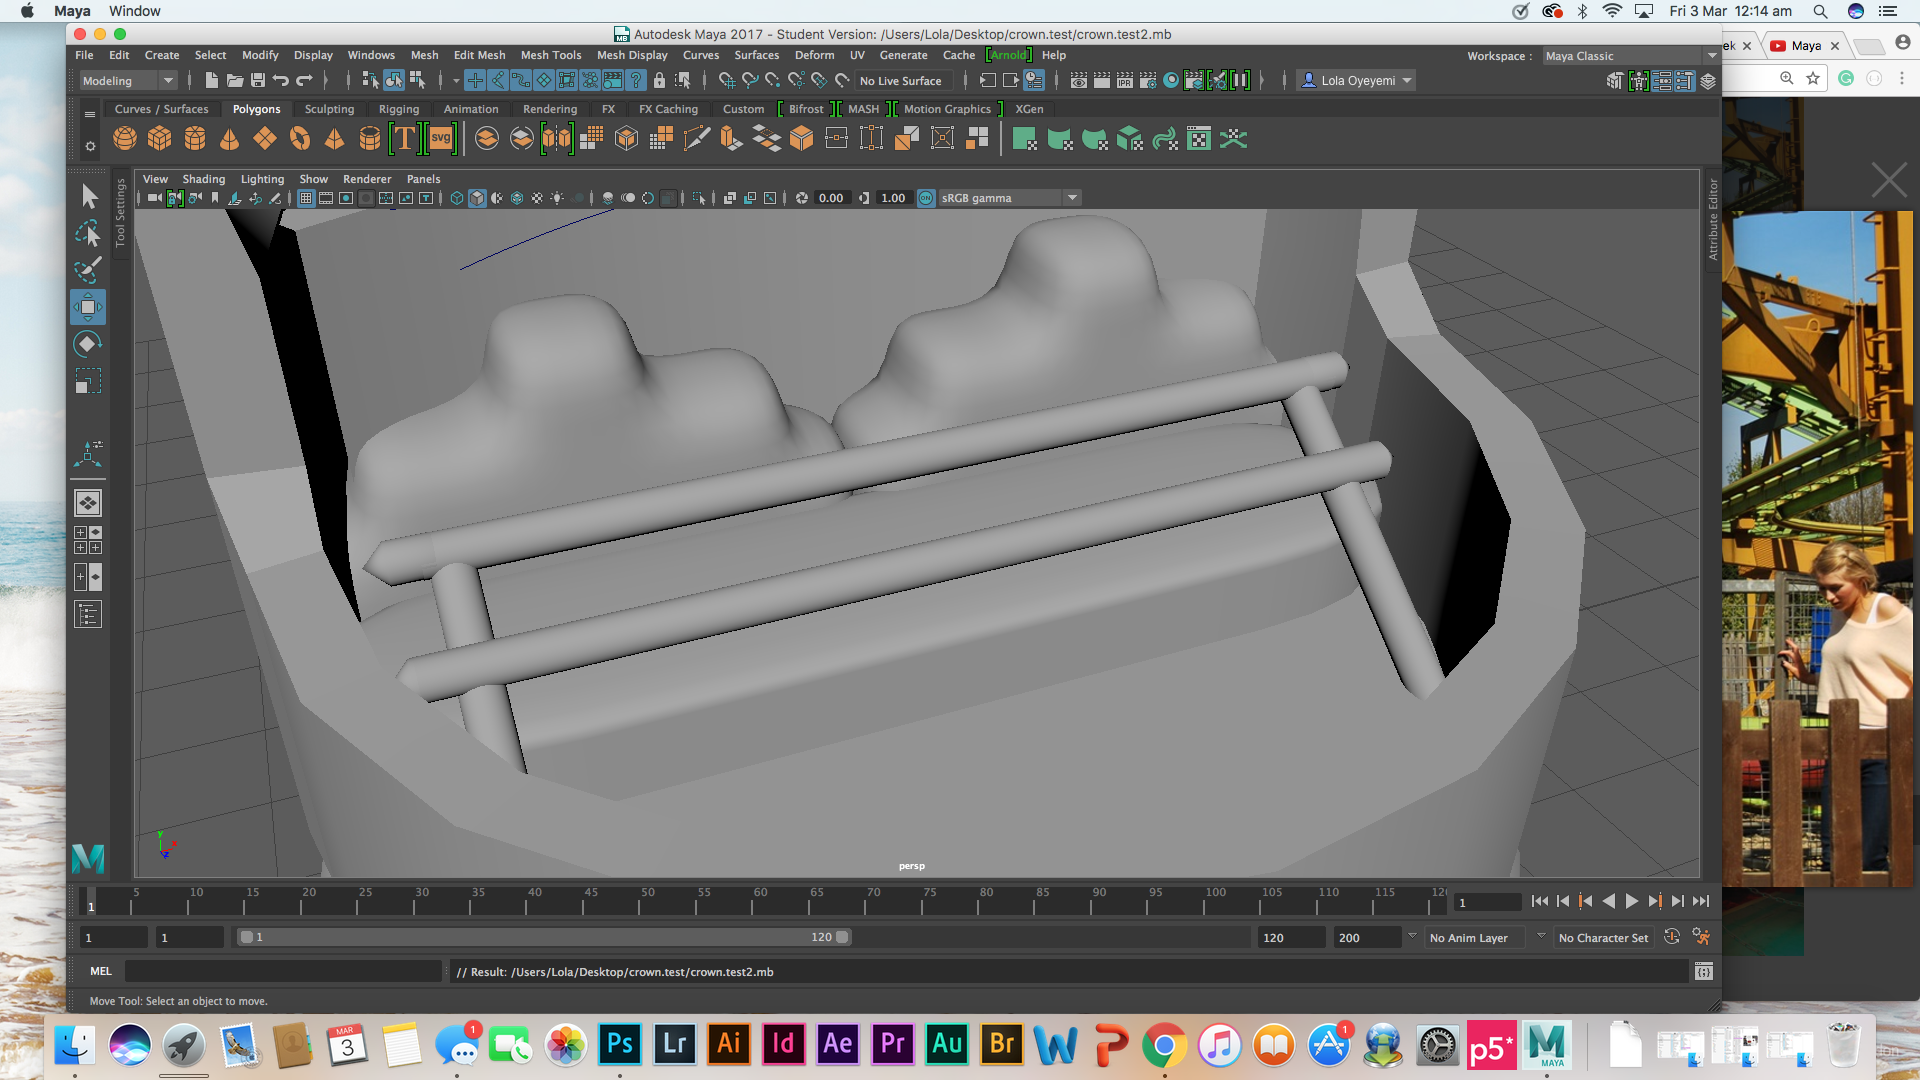
Ensuring that the theme of royalty is carried through to every element of the cart is very important. The handle bars of the seat guard follow the same texture as the chair posts from the throne. This is so that the interior of the cart looks cohesive in texture and shape.
So far the cart design looks good. In my previous post, I mentioned that I wanted to make the pattern for the back of the crown on illustrator so that I could plan out where I was going to place the jewels, since making the cat, I found that this was not going to be unnecessary since the design was going according to the plan and my original sketch design.
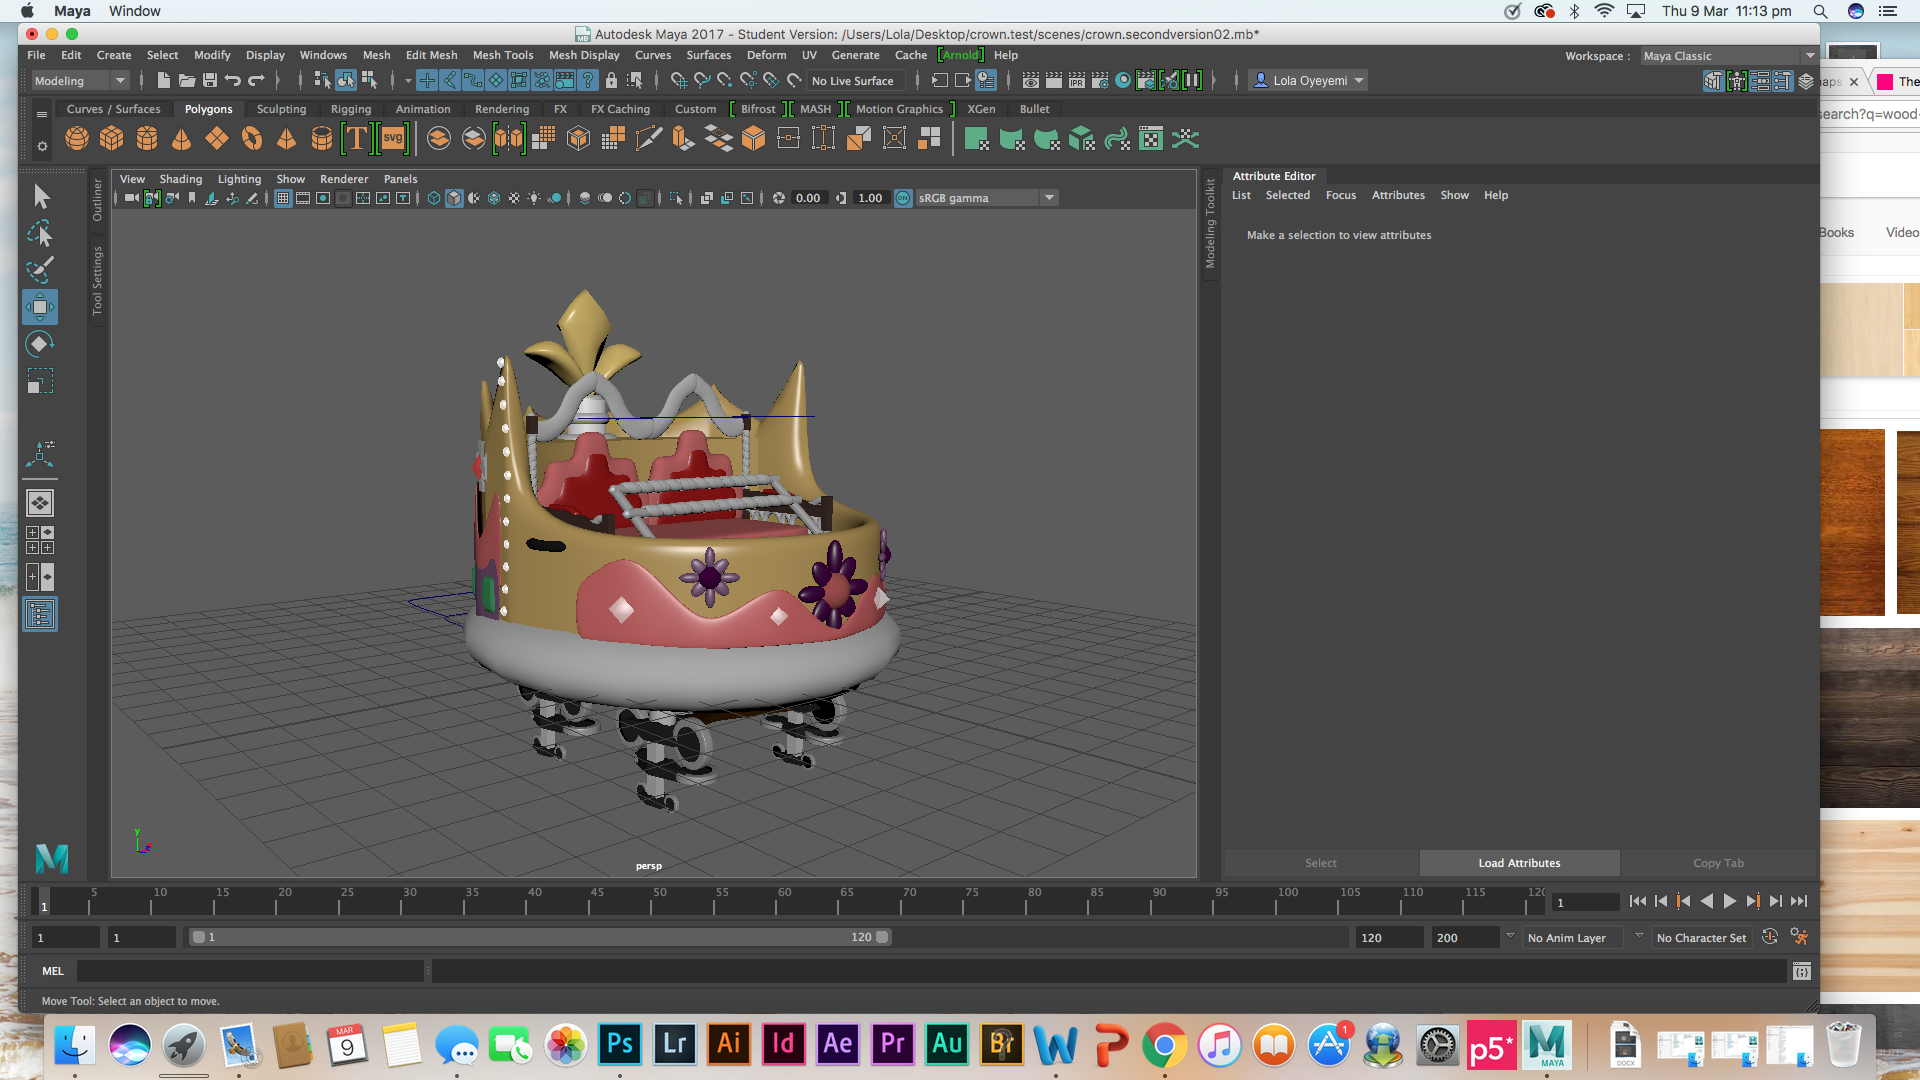


To make the jewels I used various polygon shapes such as spheres, cubes and platonic solids then extruded then to get my desired shape. In terms of adding colours nad making them look real, I adjusted the ambience and reflectivity in the attribute tab. This way I had me flexibility when customing the colours for the jewels. The jewels in the crown were, emeralds, diamonds, pearls, rubies, sapphires and peridots. All these royal jewels were purposely selected because they have a significant meaning in terms of royalty, as I mention in my previous blog posts.
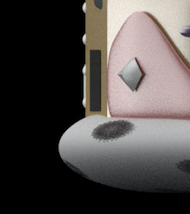
Added royal colours and textures to certain elements of the cart. Such as for the bottom of the cart that was to resemble the border of a crown that is made out of faux ermine fur.
Firstly I created a material in photoshop using brush strokes to give the illusion of fur then applied it to the model. I didn’t like this because the quality of the material didn’t look cohesive with the high quality of the model. I then made another material in photoshop and created a bump map from it. It made the bottom of the cart look more realistic, which is what wanted.
I also created another material that I applied a bump map to as used this on the headboard of the thrones.
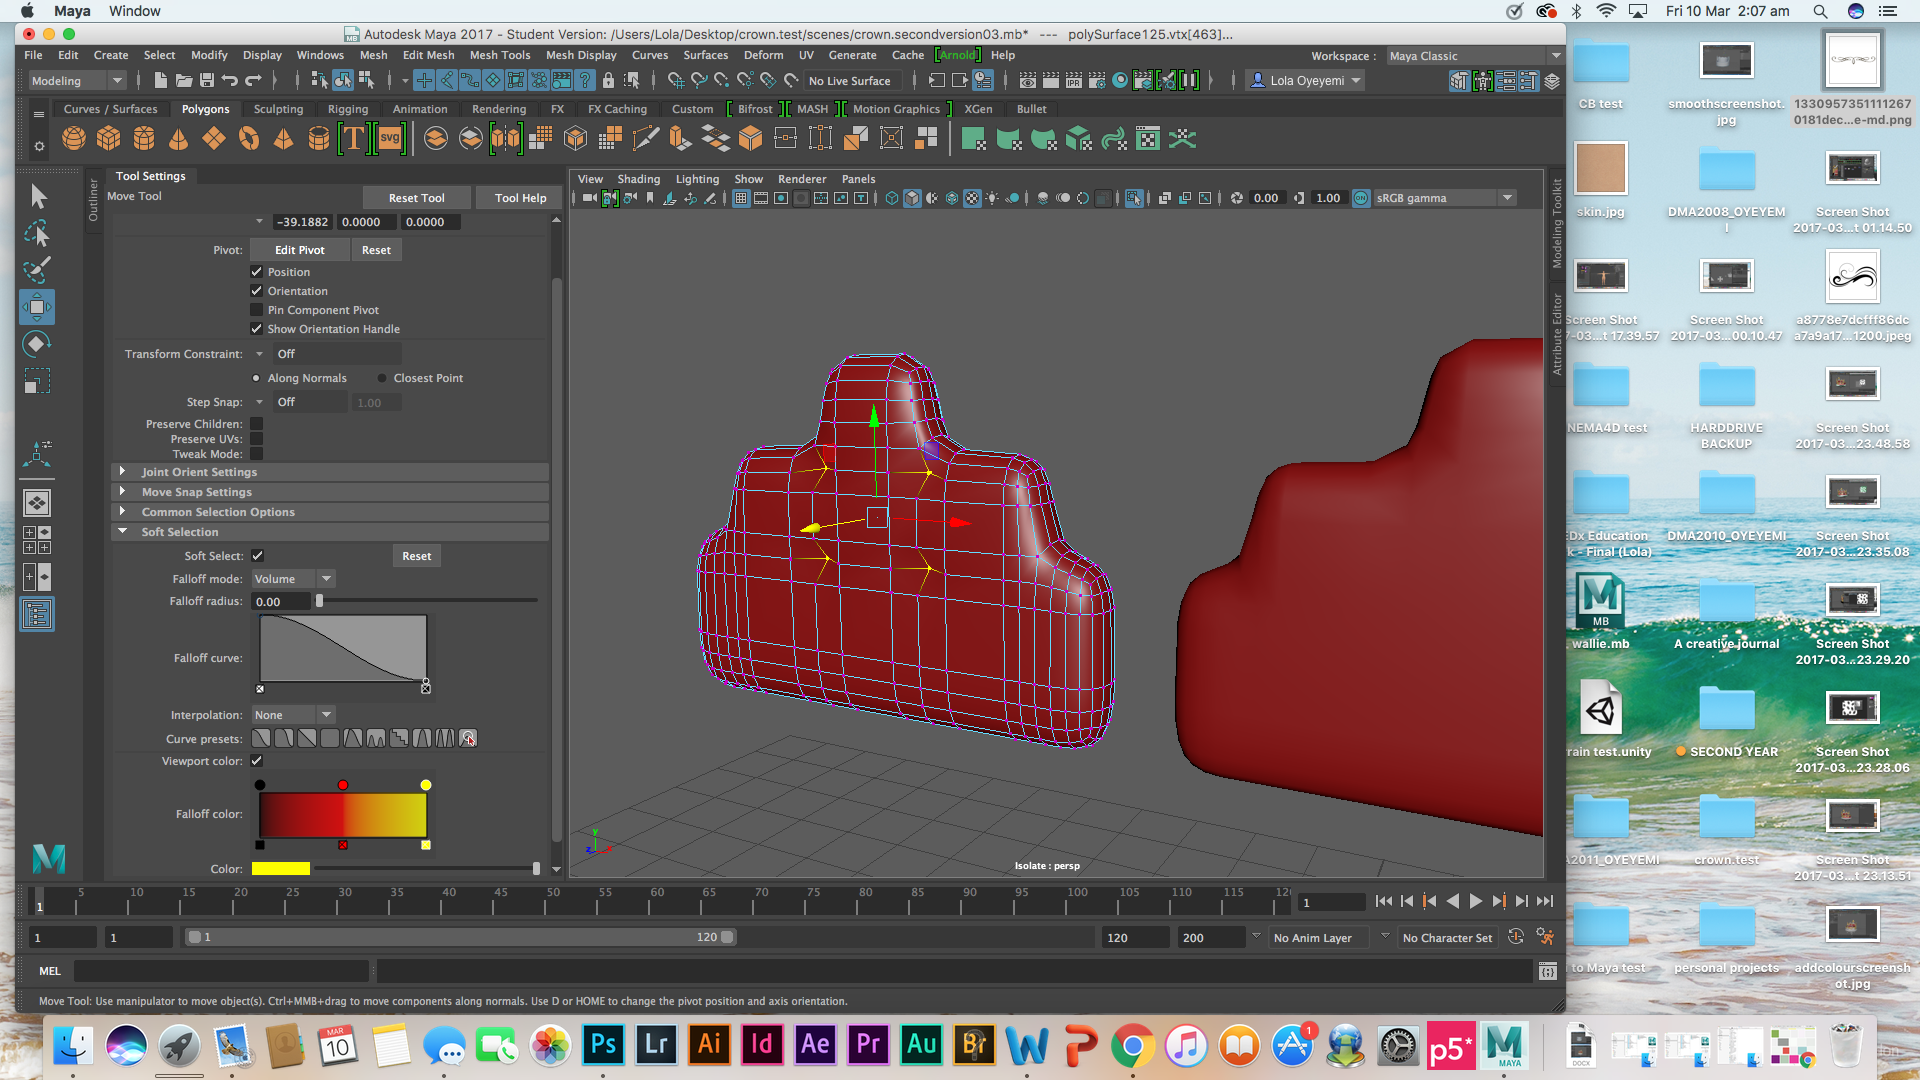
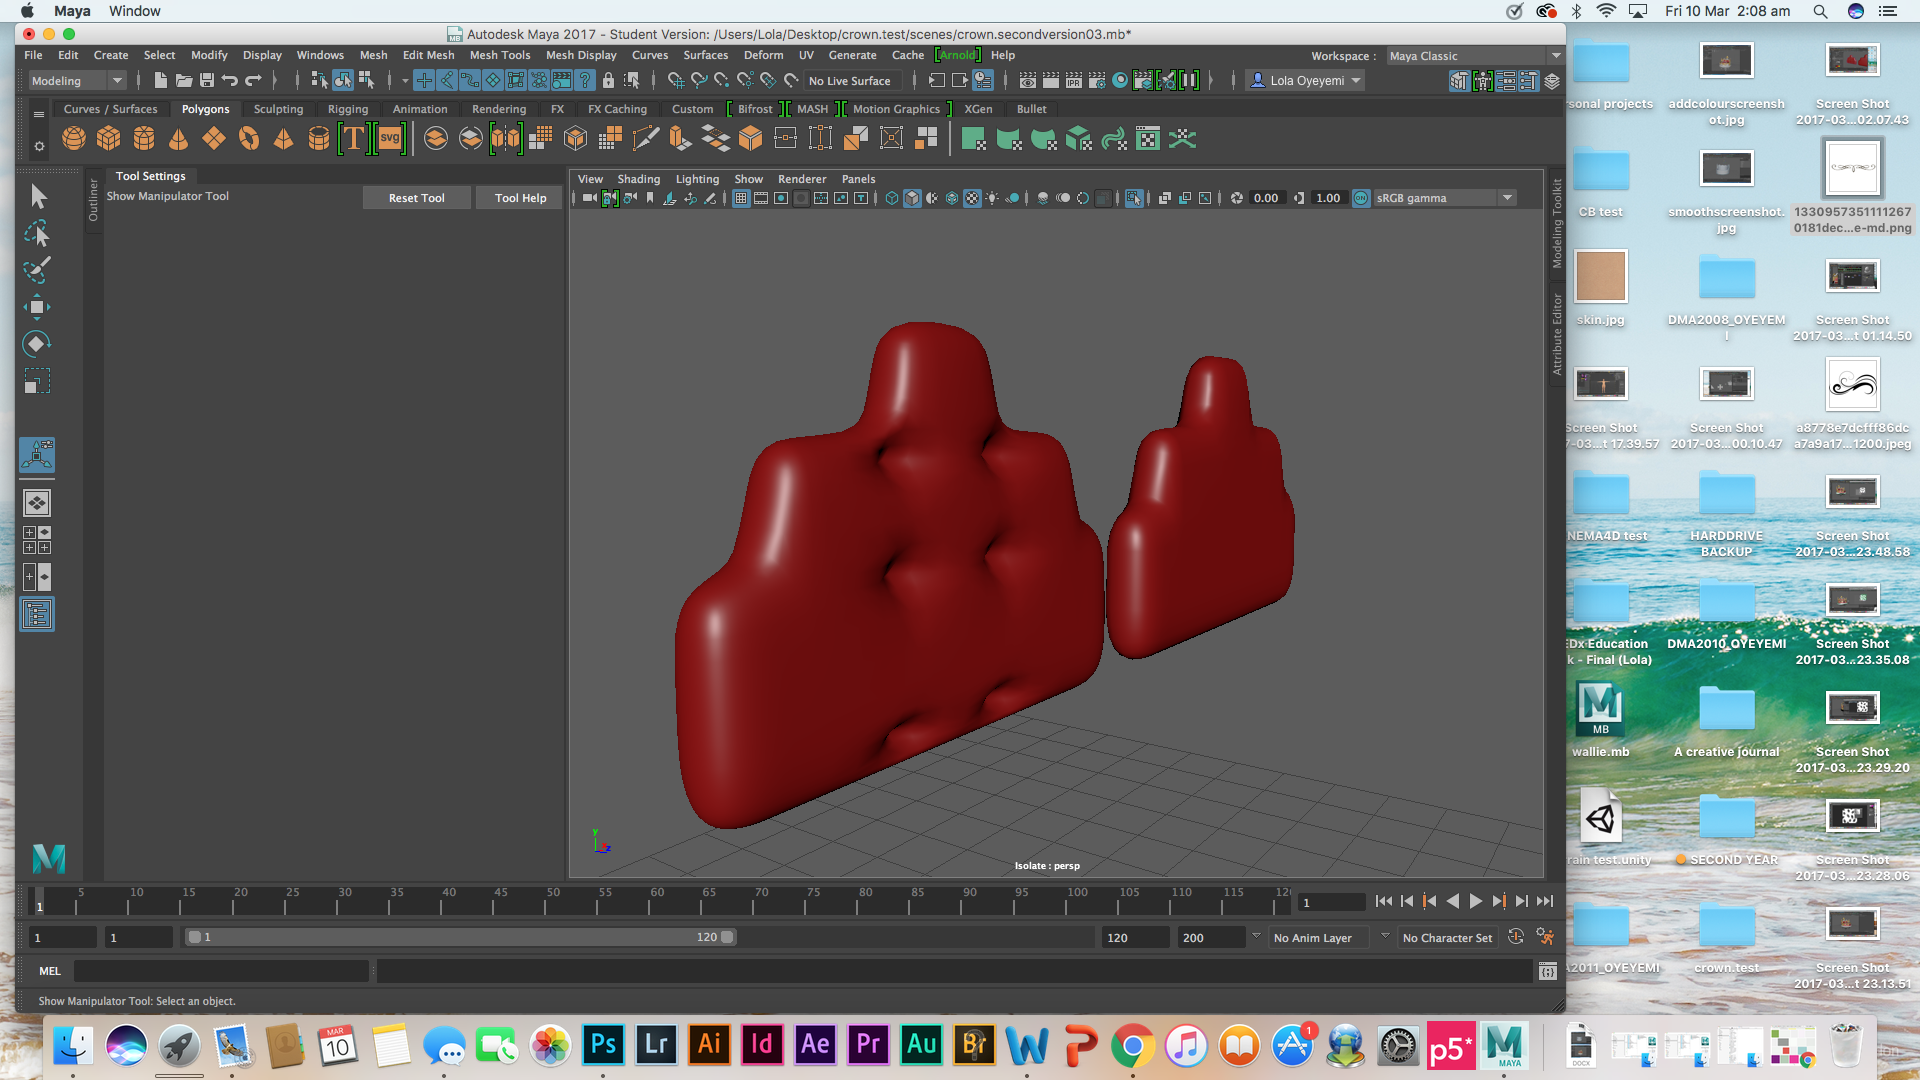
To make the indent in the chairs I used the soft section tool then dragged the chosen vertex inwards. Just one of the many simple technique I used to create a detailed and authentic model.
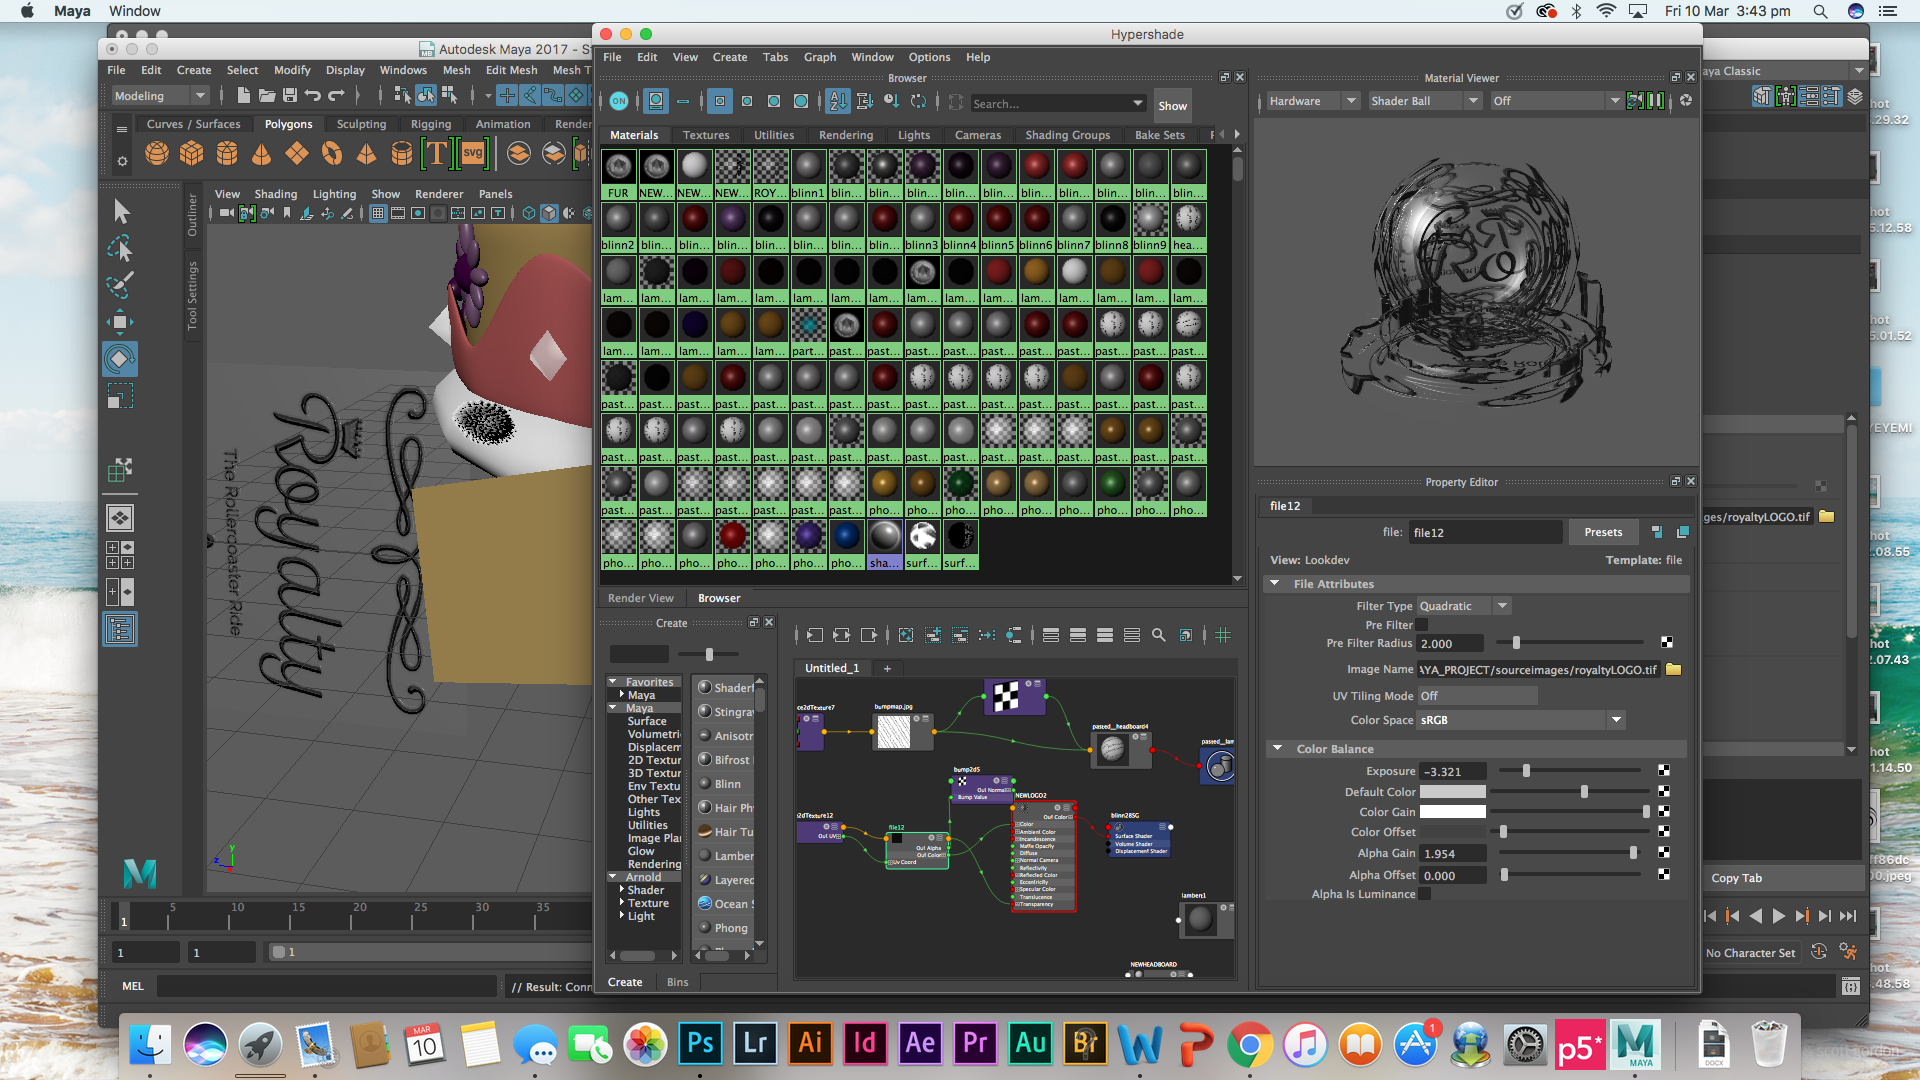
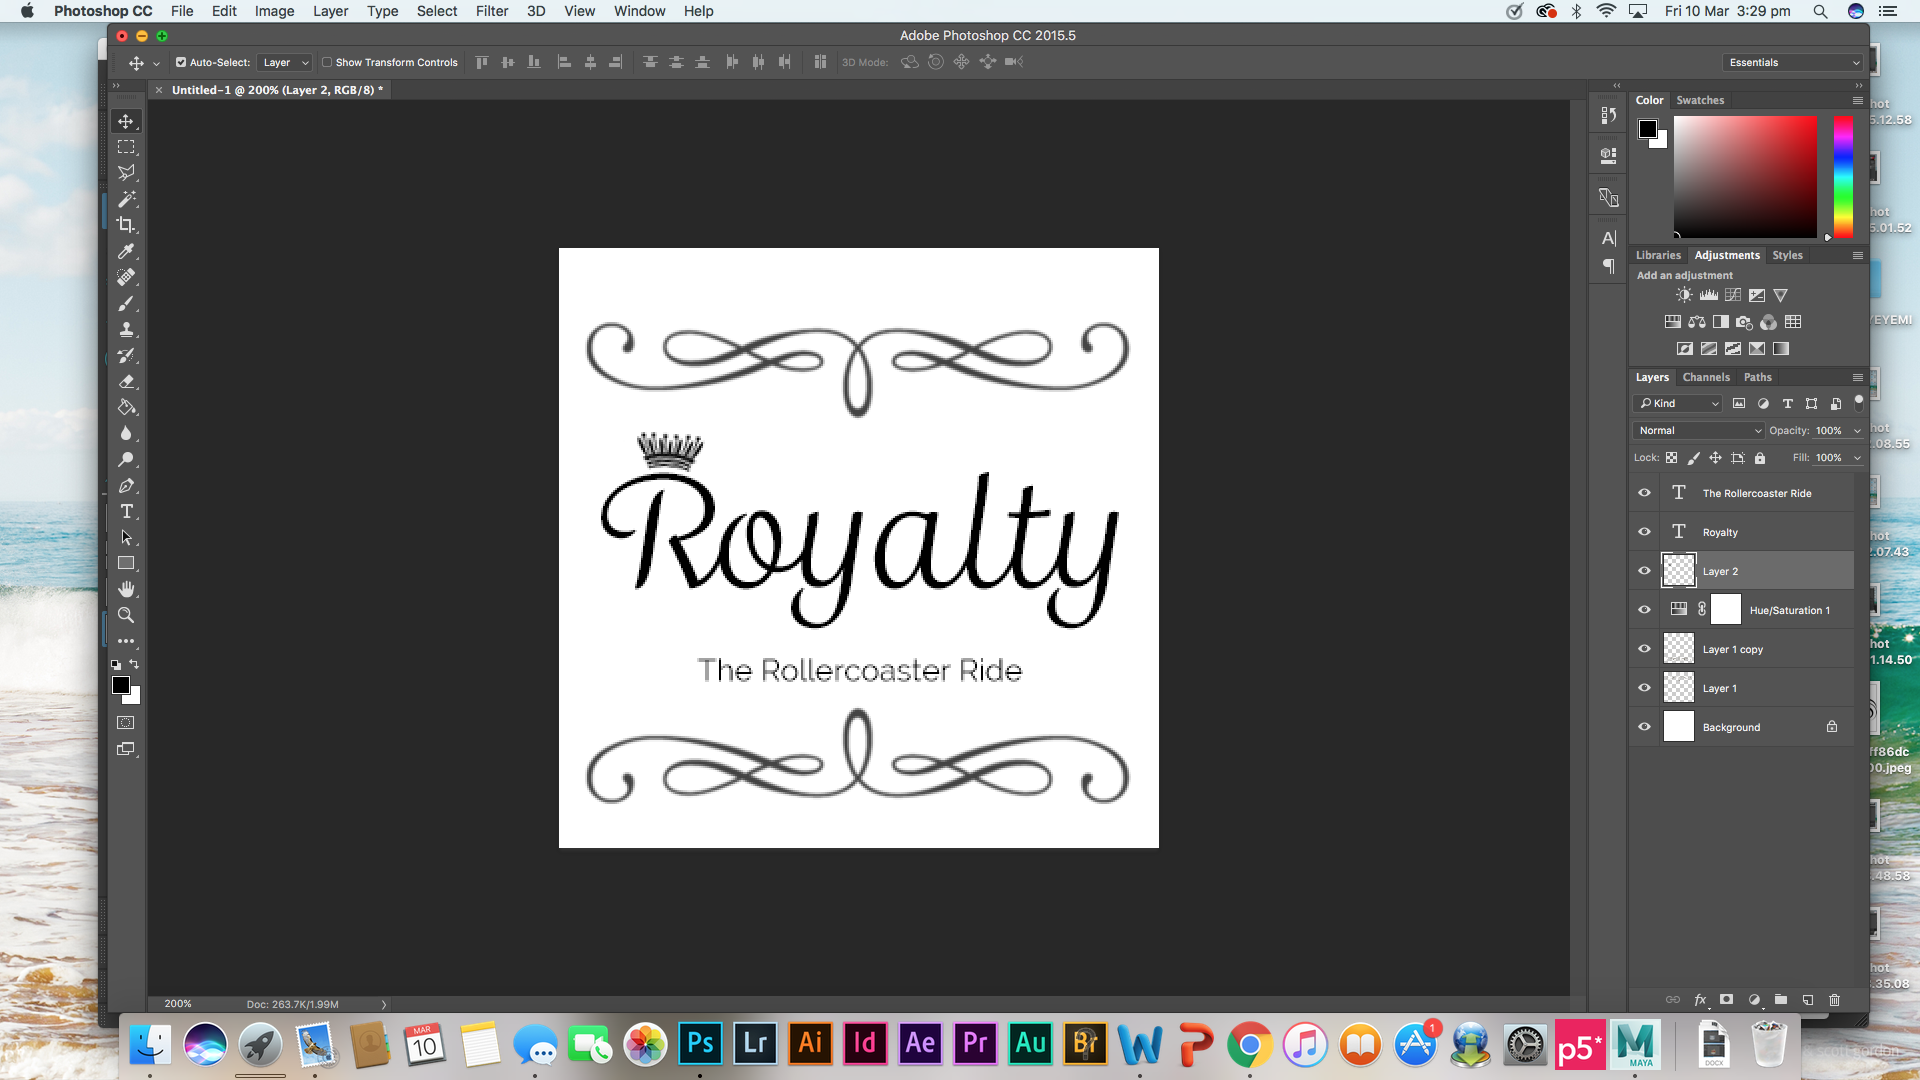
Final touches. I created a quick logo in photoshop, set it’s as a material for a plane then applied a bump map to it. I created this logo to make the cart look real. I also added it because I wanted the doors to have a simple design on them so that they would not stand out too much.
RENDERING
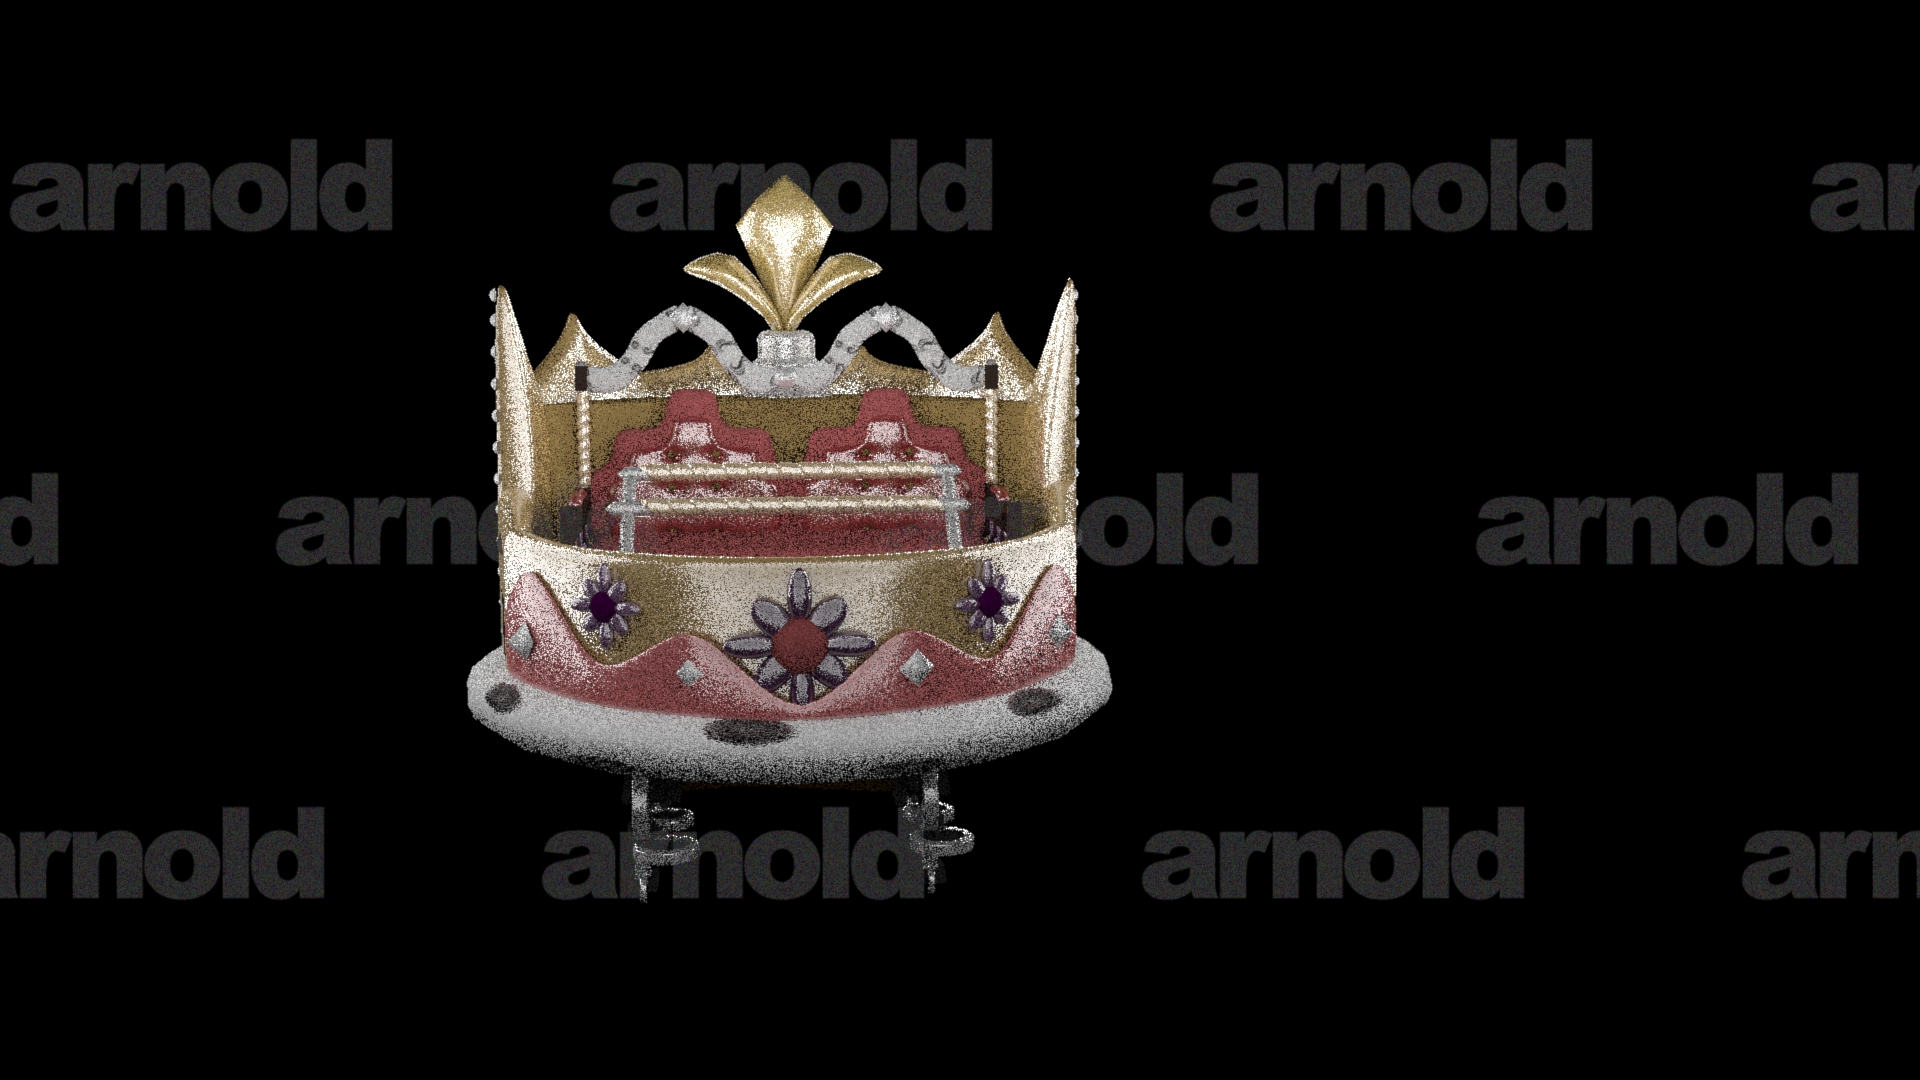
During this module, I have independently been learning how to use the Arnold render plug-in through Maya. I intended to render my turntable video using the plug-in but I need a license or else it will render with a watermark. As seen in the image above. The plug-in doesn’t allow batch render but it does allow a single render. Therefore for the single shots, I will render using Arnold and for the turntable, I will use the Maya software render.
Another issue I had with the Arnold render was the logo on the side of the cart. It didn’t display when I rendered the model using Arnold. I don’t know if this was a bug in the program, a setting I had on that I wasn’t aware of but it wouldn’t show. The alternative to this was that i would render that image using the Maya software render and the other images using Arnold.
The images below show what I am talking about.
Model rendered with Arnold
Everything shows normally but the logo on the plane.

Model rendered using Maya Software
The logo and its bump map show normally.